
The complete guide
How To Choose And Fit H4 Halogen Headlight Globes
The slow fade nobody notices
Headlight globes rarely die in a dramatic way. What usually happens is that they dim, month by month, until one of them finally gives up. Your eyes adjust along with the fade, so you drive for ages thinking everything is fine. Then one side blows, you see the difference between the working globe and the dead one, and you realise how dull the light had become.
Night driving on an unlit road gives you very little warning time as it is. A tired globe cuts that further. Wet bitumen soaks up light, rural roads have no streetlights to help, and animals have a habit of appearing at the edge of the beam rather than the middle of it. Replacing globes is one of the cheapest jobs you can do on a car, and it makes a bigger difference to how safe the drive feels than most things costing ten times as much.
This guide covers what an H4 globe actually is, how to check whether your car uses one, how to fit a new pair, and what to watch out for along the way.
What an H4 globe is
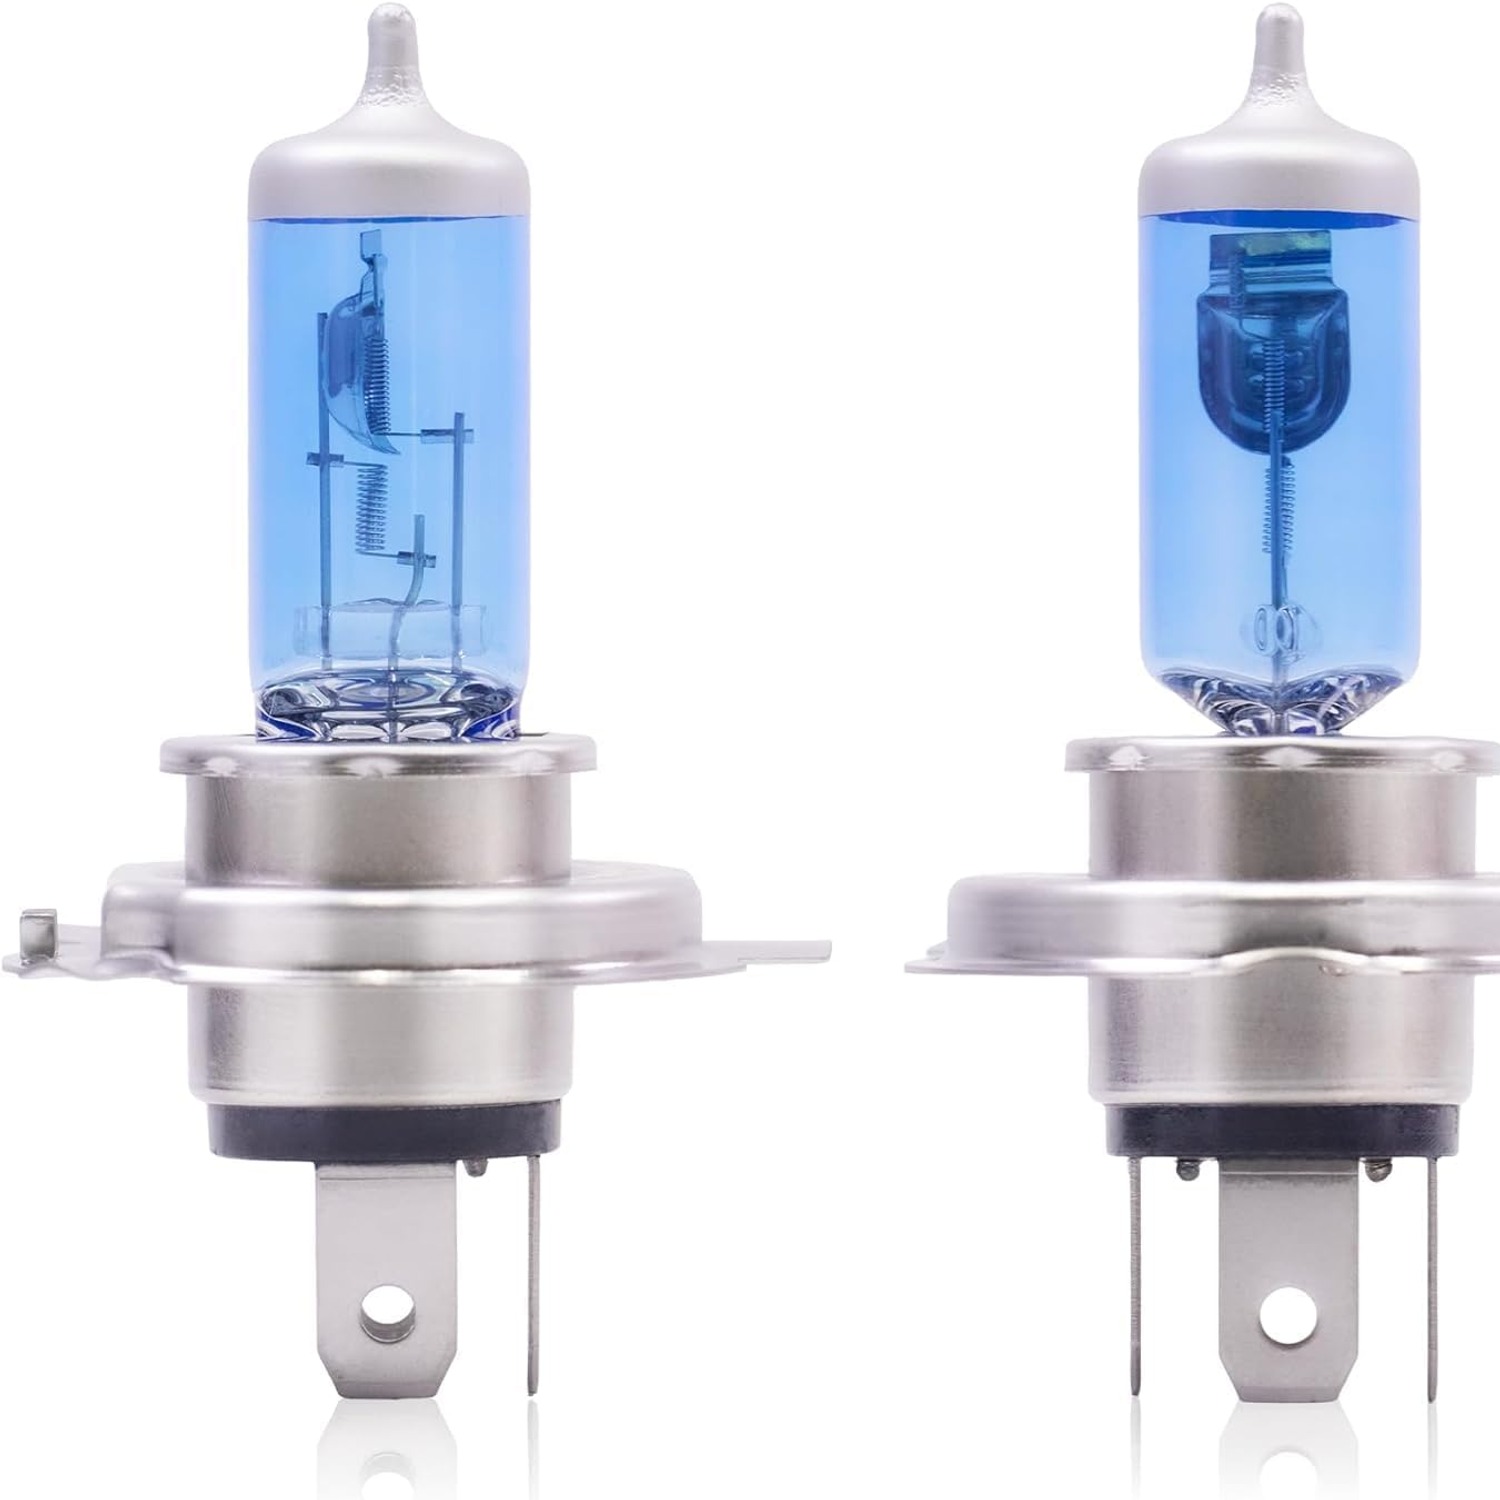
It describes the shape of the base and the way the globe locks into the headlight housing. You will also see it written as 9003, which is the same fitting under a different naming system, and P43t, which is the base code. If any of those codes appear on your old globe, you are in the right place.
The thing that makes H4 different from most other headlight fittings is that it carries two filaments inside one glass envelope. One filament runs the low beam, the other runs the high beam. A small metal shield sits under the low beam filament to stop light spilling upward into oncoming traffic. That is why a car with H4 headlights only needs one globe per side rather than separate globes for each beam.
These globes are rated at 12 volts and 60/55 watts. The 60 is the high beam draw and the 55 is the low beam draw. Those are the standard numbers for an H4 halogen bulb, which means the globe is asking for what the vehicle's wiring and socket were built around.
Reading the colour temperature
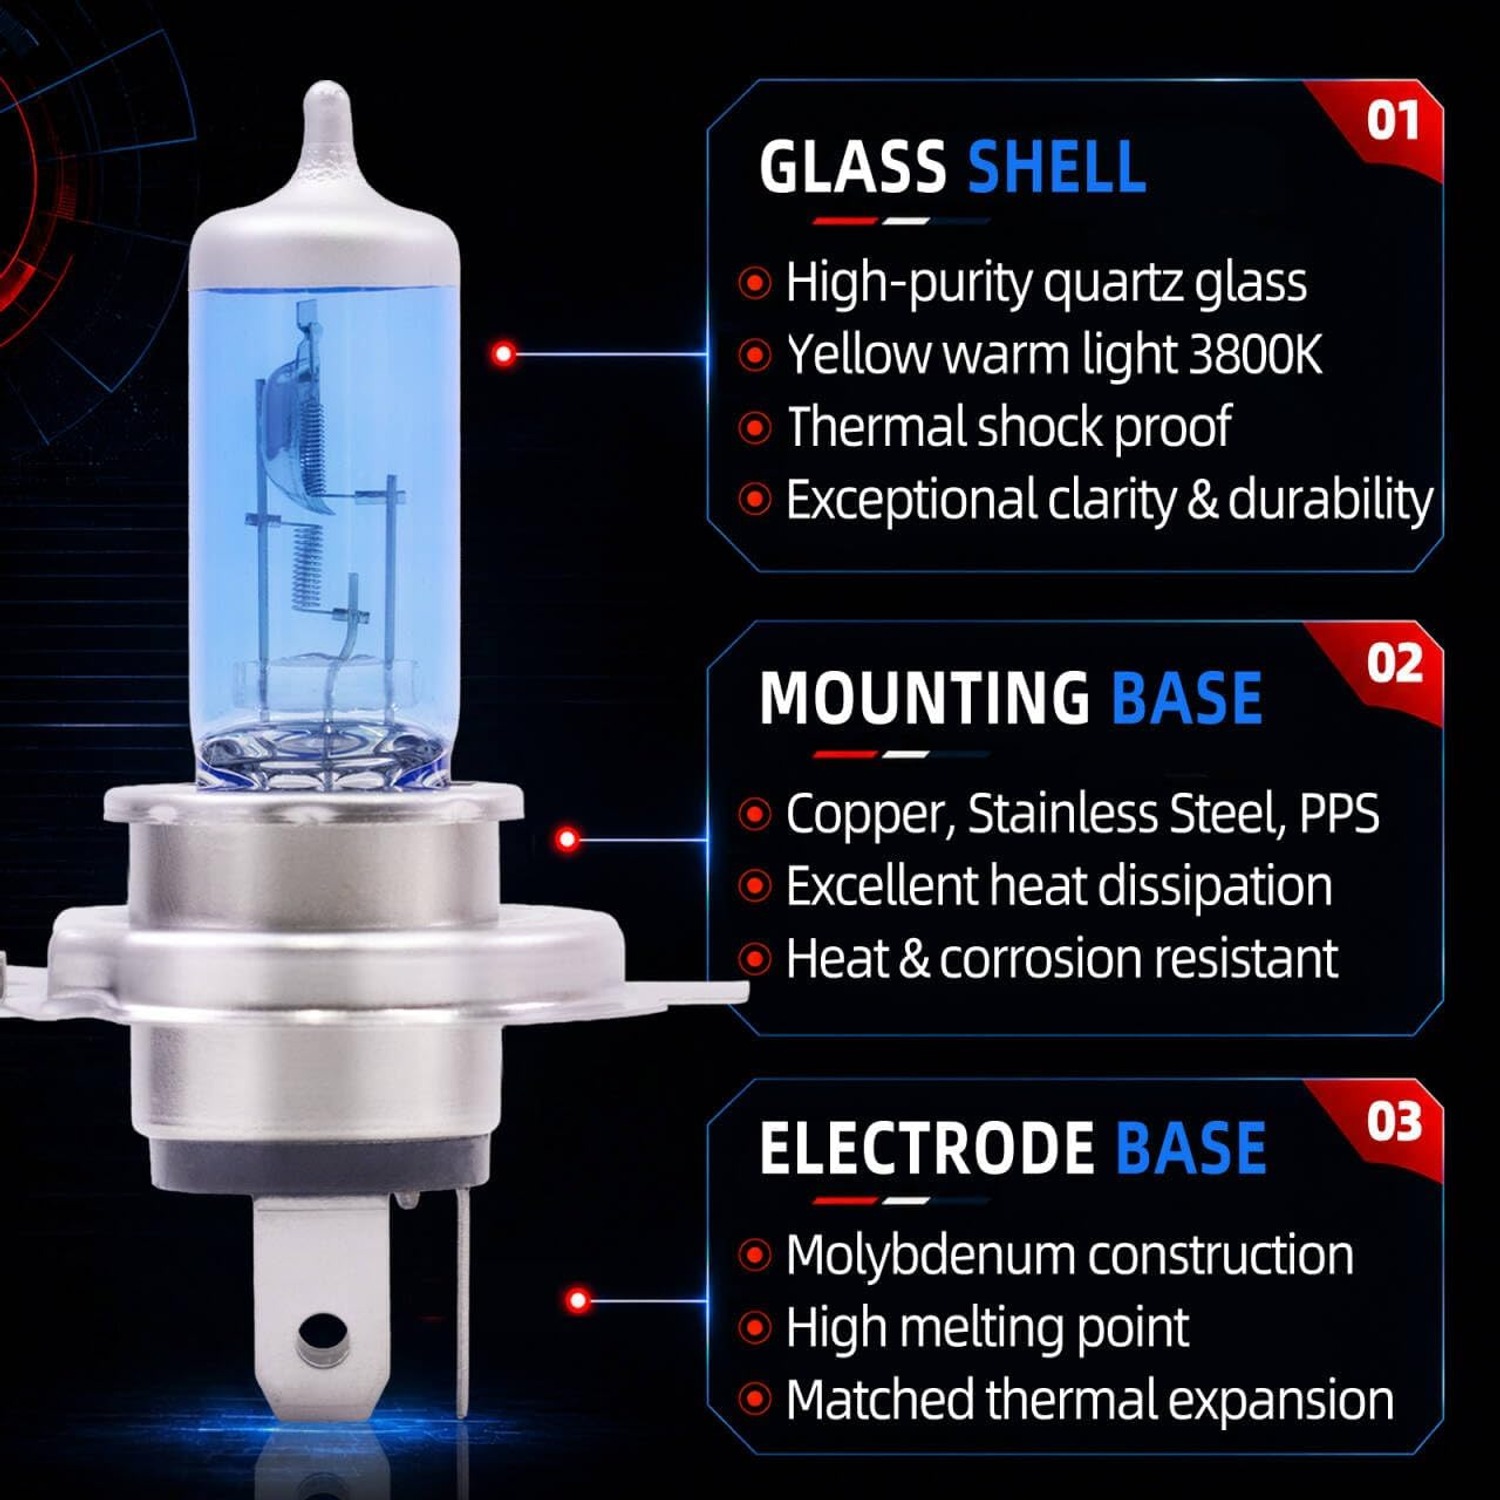
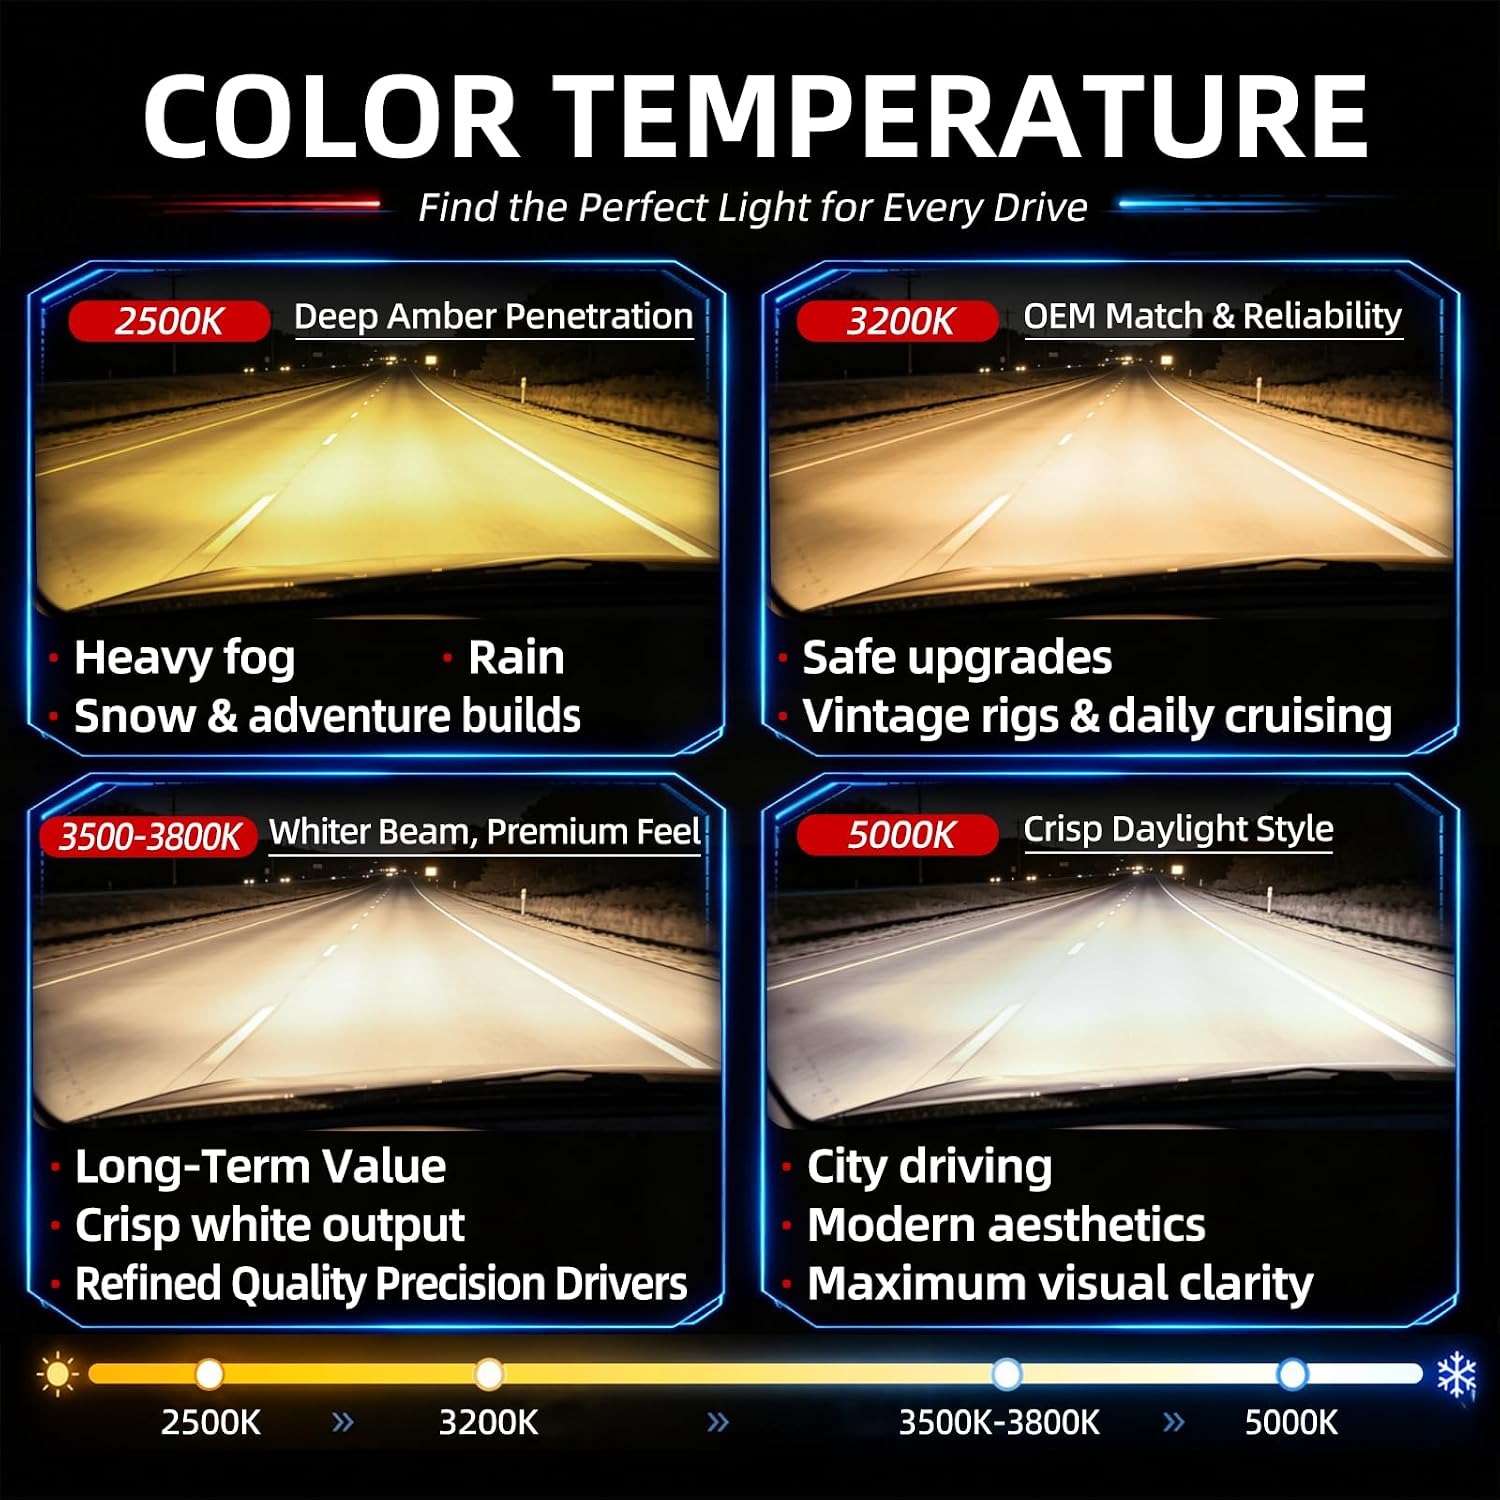
Colour temperature is measured in Kelvin and tells you the tone of the light rather than how much of it there is. These globes sit at about 3800 Kelvin, a warm white. For comparison, an older standard halogen globe often looks more yellow, and the fashionable blue-tinted products sit much higher up the scale.
Warmer light has a practical side in bad weather. Blue-heavy light scatters more off water droplets, so some drivers find it harder to see in heavy rain or fog. A warmer white tends to cut through a bit better and feels less harsh over a long drive. It is a matter of preference, but if you have ever disliked the glare of a very cool white headlight, a 3800K globe is likely to suit you.
Check your fitting before you buy
This is the single step people skip, and it is the one that causes returns. Globes are matched by fitting type, not by make and model, so the only thing that matters is what your headlight socket accepts.
There are two reliable ways to check. The first is the owner manual, which lists globe types for the headlights along with indicators, tail lamps and interior lights. The second, and the one we recommend, is to pull the old globe out and read the code printed on its metal base. If it reads H4 or 9003, these fit. If it reads H7, H11, HB3, HB4 or anything else, it does not matter how similar the globe looks, it will not seat correctly.
If you have a car with projector-style or LED headlight units from the factory, these halogen globes are not a swap-in part. They suit sockets designed for an H4 halogen globe.
Fitting them yourself
Most H4 changes are a ten minute job per side, and the hardest part is getting your hand into the engine bay rather than the globe itself.
Start with the car off and the lights cold. Halogen globes and headlight housings get extremely hot, and the heat lingers. Open the bonnet and find the back of the headlight housing. There is usually a round rubber or plastic cover you twist or pull off. Behind it sits the globe with a three-pin plug attached.
Pull the plug straight off the pins. Do not yank it sideways. Then release the retaining clip, which is normally a spring wire that unhooks and swings out of the way, or a ring you twist a quarter turn. The old globe lifts straight out.
Handle the new globe by the metal base only. Oil from your fingers bakes onto hot glass and creates a hot spot that can shorten the life of the globe. If you do touch the glass, wipe it with a clean cloth and a little methylated spirits before fitting.
Seat the new globe into the housing. The three tabs on the flange are different sizes, so the globe only goes in one way. Push it home until it sits flat, refit the clip or ring, push the plug back onto the pins, and replace the cover. Make sure the cover seals properly, because moisture inside a headlight housing shortens globe life and fogs the lens.
Then do the other side.
Why you should change both at once
Globes age at a similar rate because they have done the same hours. If you only replace the one that failed, you end up with a bright new globe on one side and a tired one on the other. The beam pattern becomes lopsided, which is distracting and makes it harder to judge the edges of the road.
That is why these come as a pack of two. Fit both, and the light across the front of the car stays even. If you would rather keep the second globe as a spare, that is fine too, though most people get more out of a matched pair.
Getting a longer life out of them
A few habits help. Keep bare fingers off the glass, as already covered. Check that the rear cover seals cleanly so water and dust stay out of the housing. If you drive rough roads regularly, expect filaments to take more punishment from vibration, which is normal rather than a fault.
Keep spares somewhere protected. The original packaging is the best storage, and a glovebox or boot organiser keeps the pins from getting bent. After a globe change, point the car at a wall at night and check the beam pattern looks even and sits at a sensible height. If something shifted while you worked, the aim screws on the headlight housing will bring it back.
A note on approvals
If you need a globe with a specific approval marking for a roadworthy check or any other reason, look at the printing on your current globe and get in touch before you order. We would rather answer the question up front than have you buy the wrong thing.
The short version
H4 is a fitting type that also goes by 9003 and P43t, and it holds both beams in one globe. These are 12 volt, 60/55 watt halogen globes at around 3800 Kelvin, a warm white tone, and they come two to a pack with a user manual.
Before ordering, read the code on the base of your old globe or check the owner manual. Fitting is a plug-in job that usually takes under ten minutes with no tools. Let the headlight cool first, hold the new globe by the metal base, and change both sides so the beam stays even.