Online Auto Company
Company
Shop By Category
T&Cs
Shop Online
  • Free delivery across Australia on orders over $100
  • Interior, exterior and roadside car accessories in one place
  • Dispatch within 2 working days, then delivery in up to 7 working days by tracked courier
  • Tracking number emailed as soon as your order ships

Headlight Polish | Clear Plastic Cleaner and Polish | Plastic Headlight Cleaner

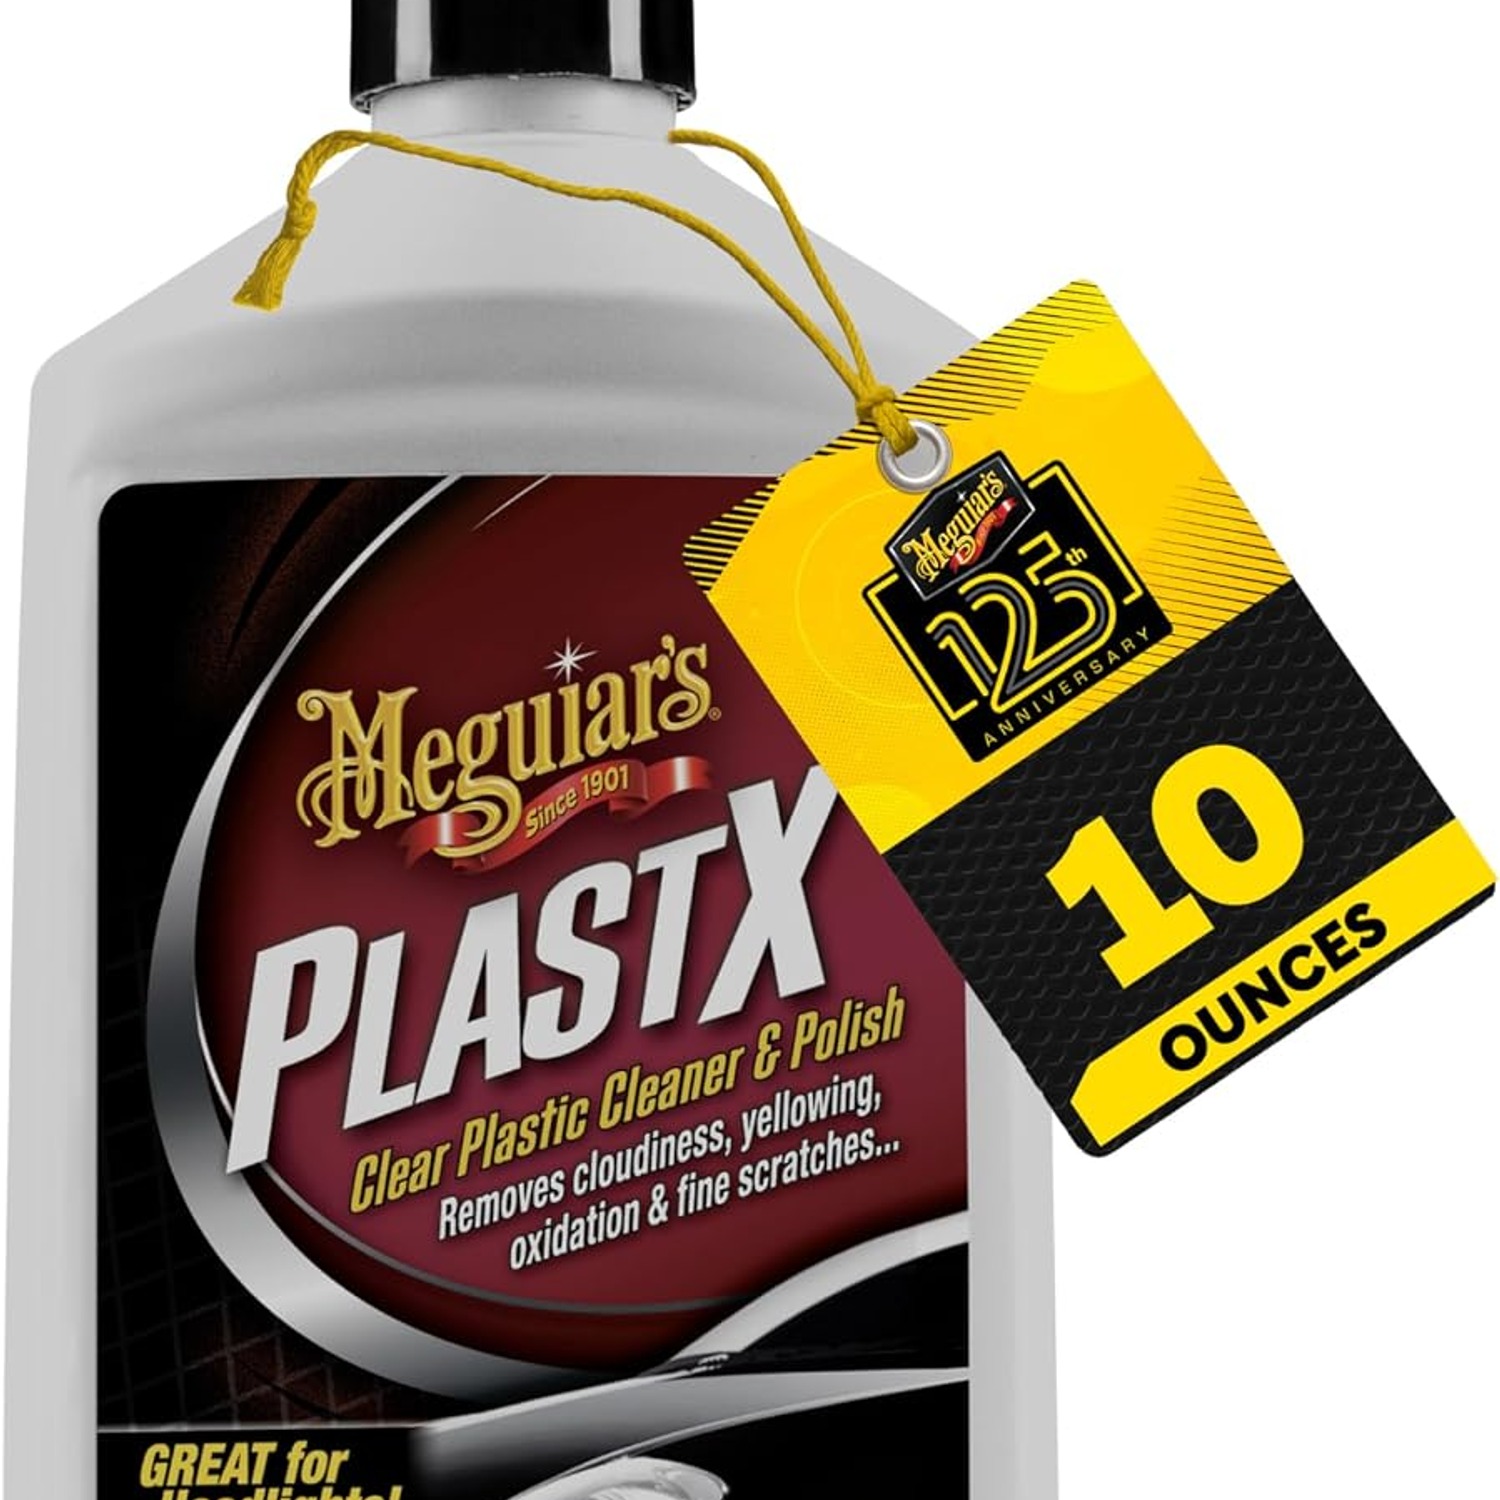
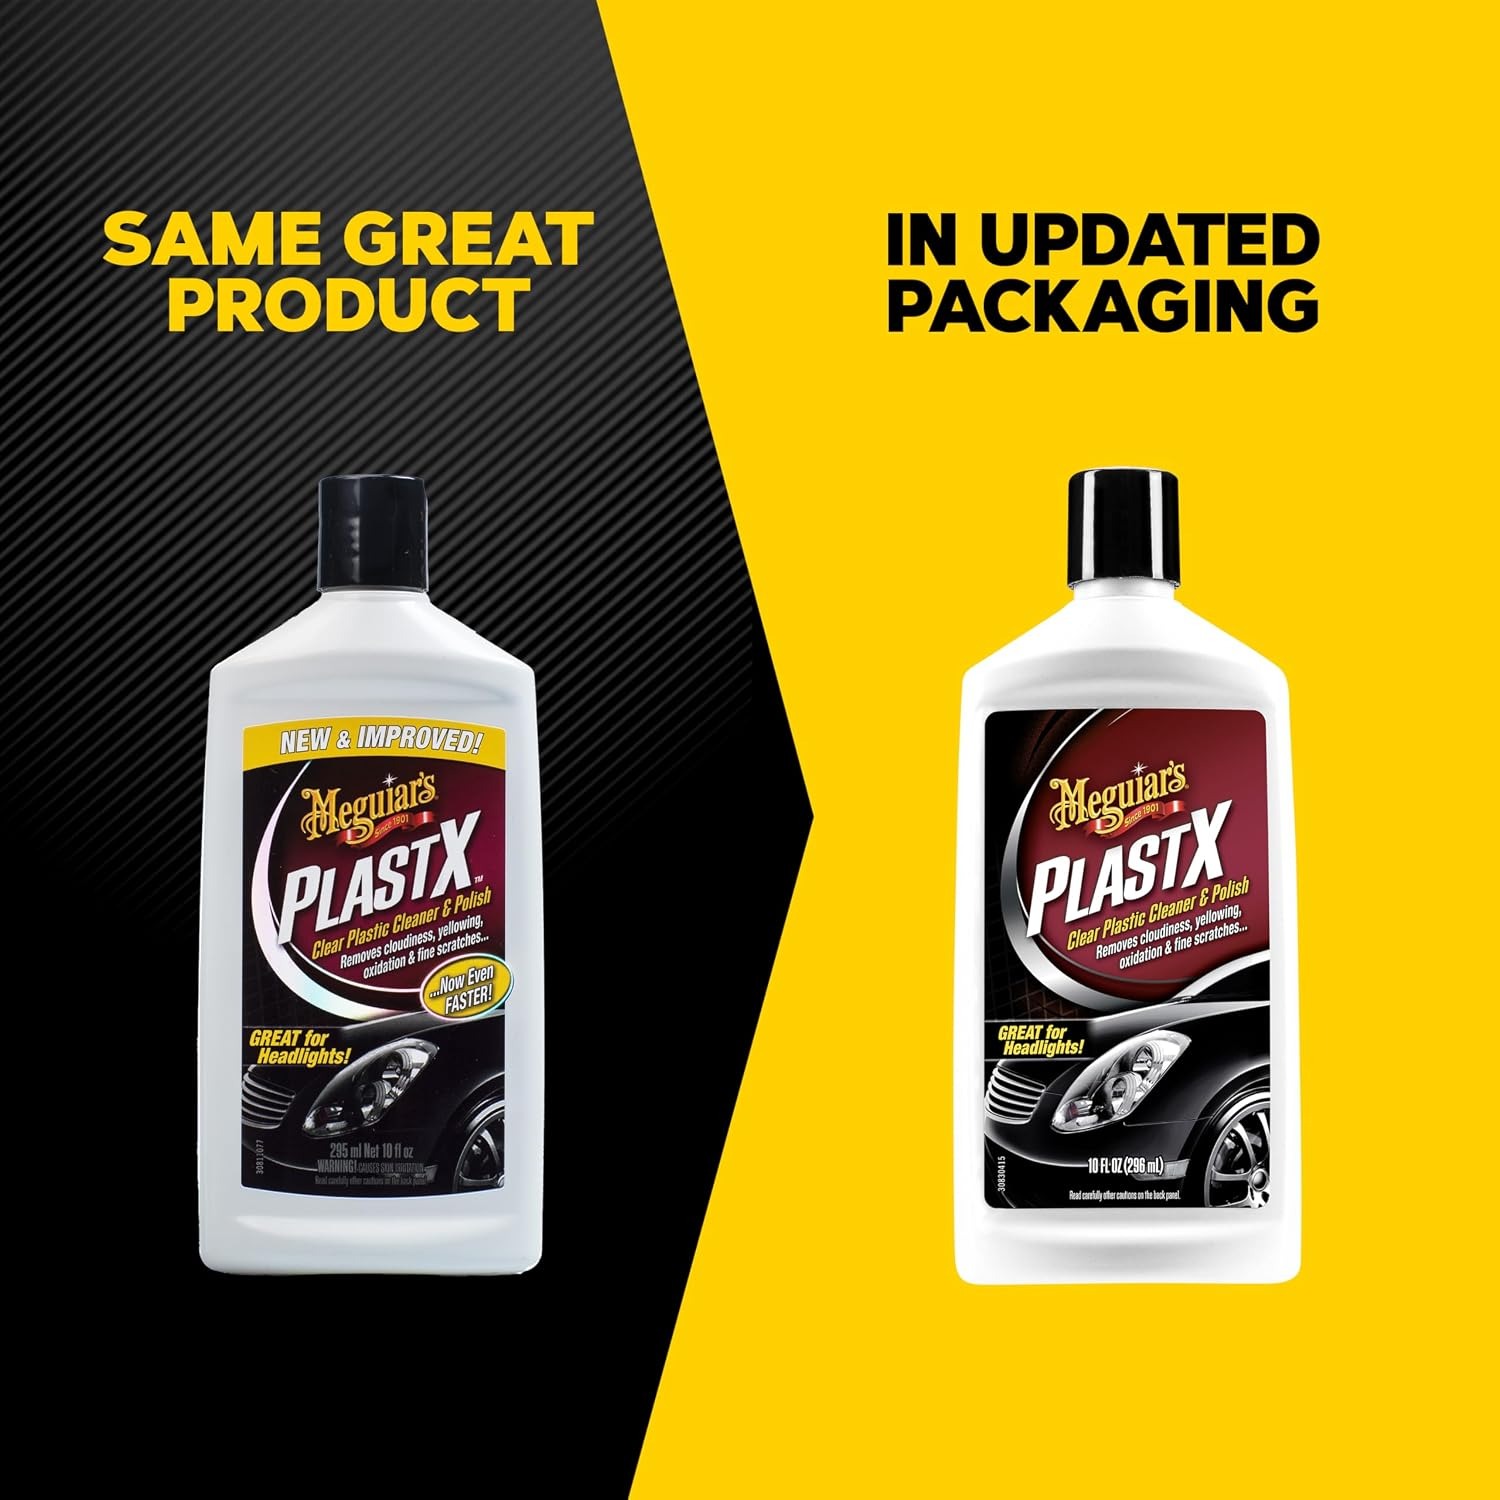
Headlight Polish (296 ml)

$55.99 $66.99 Save $11
  • 296 ml Bottle
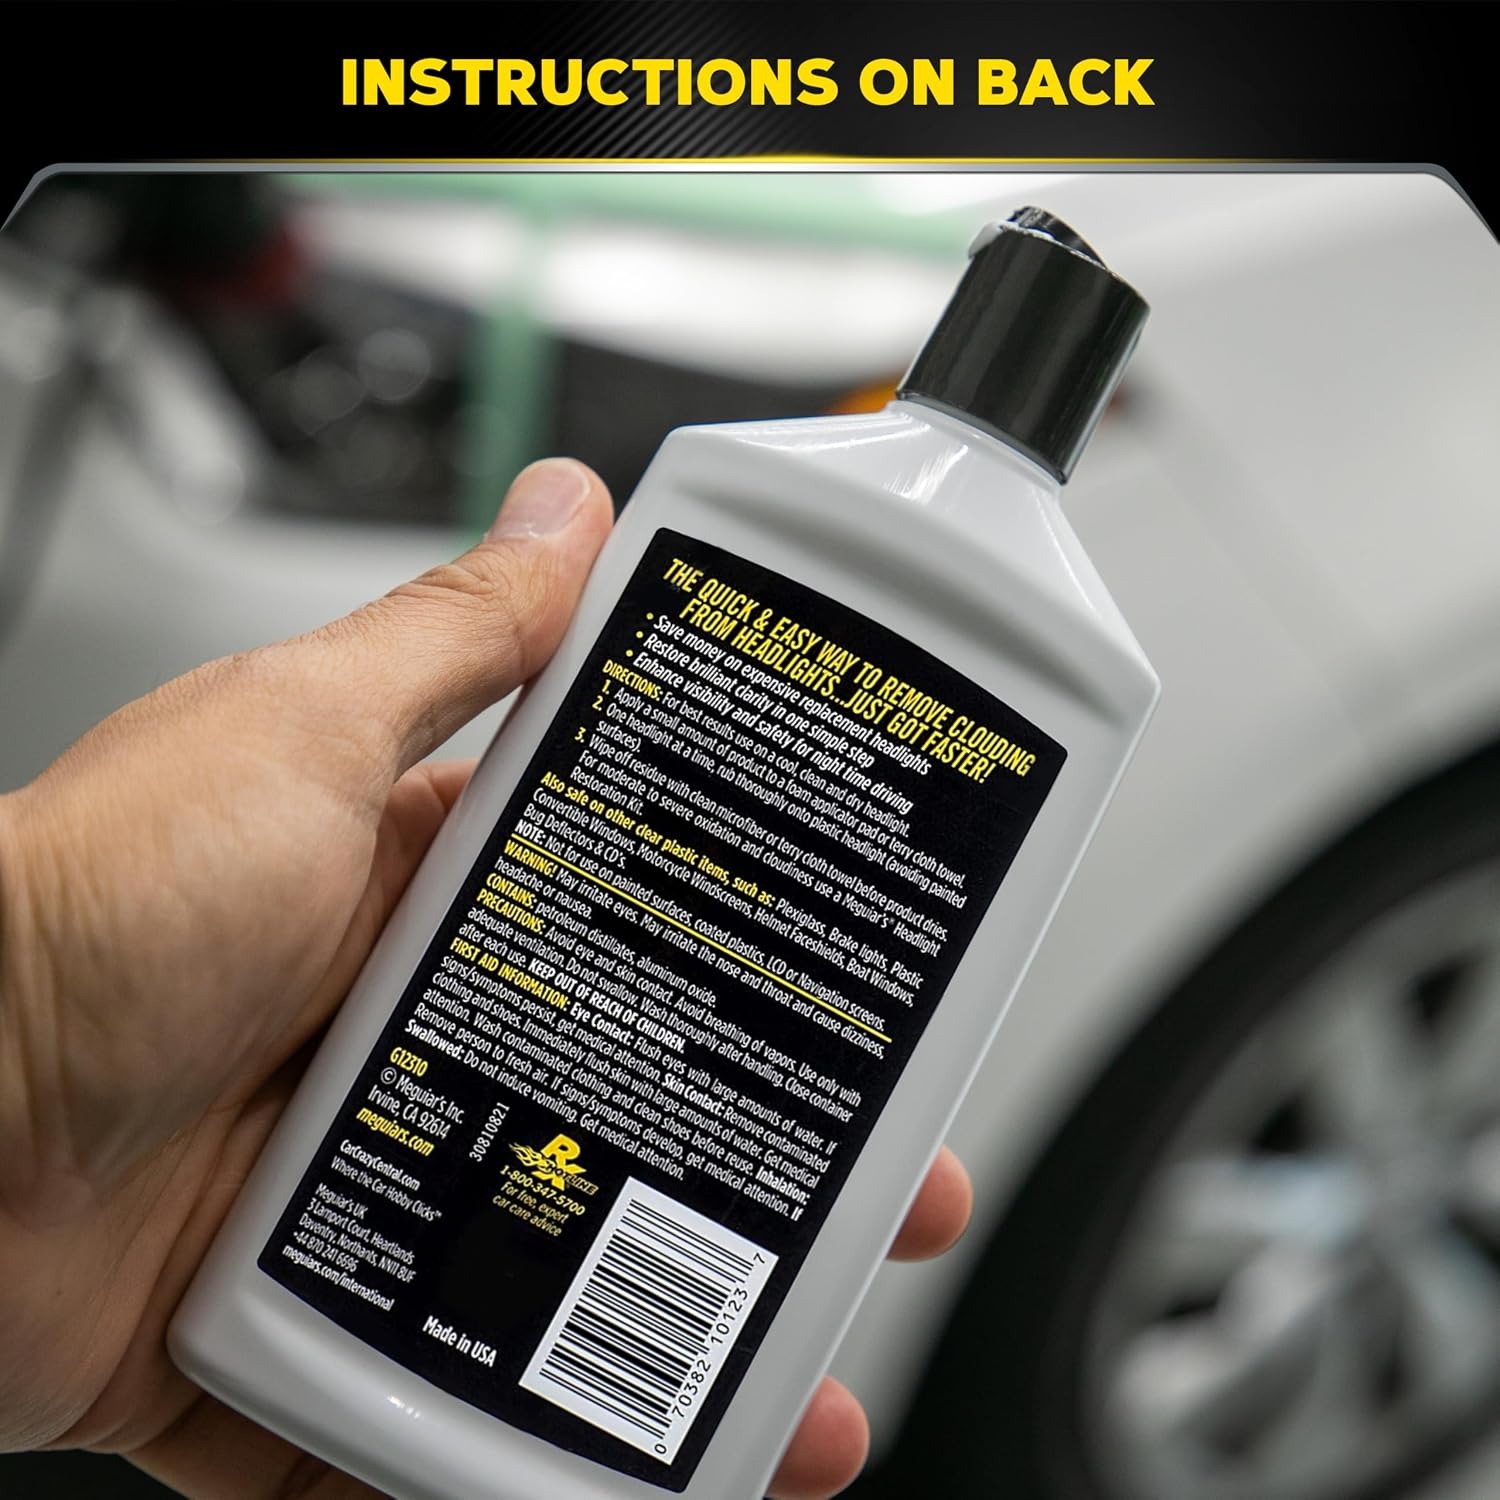
  • Applied By Hand
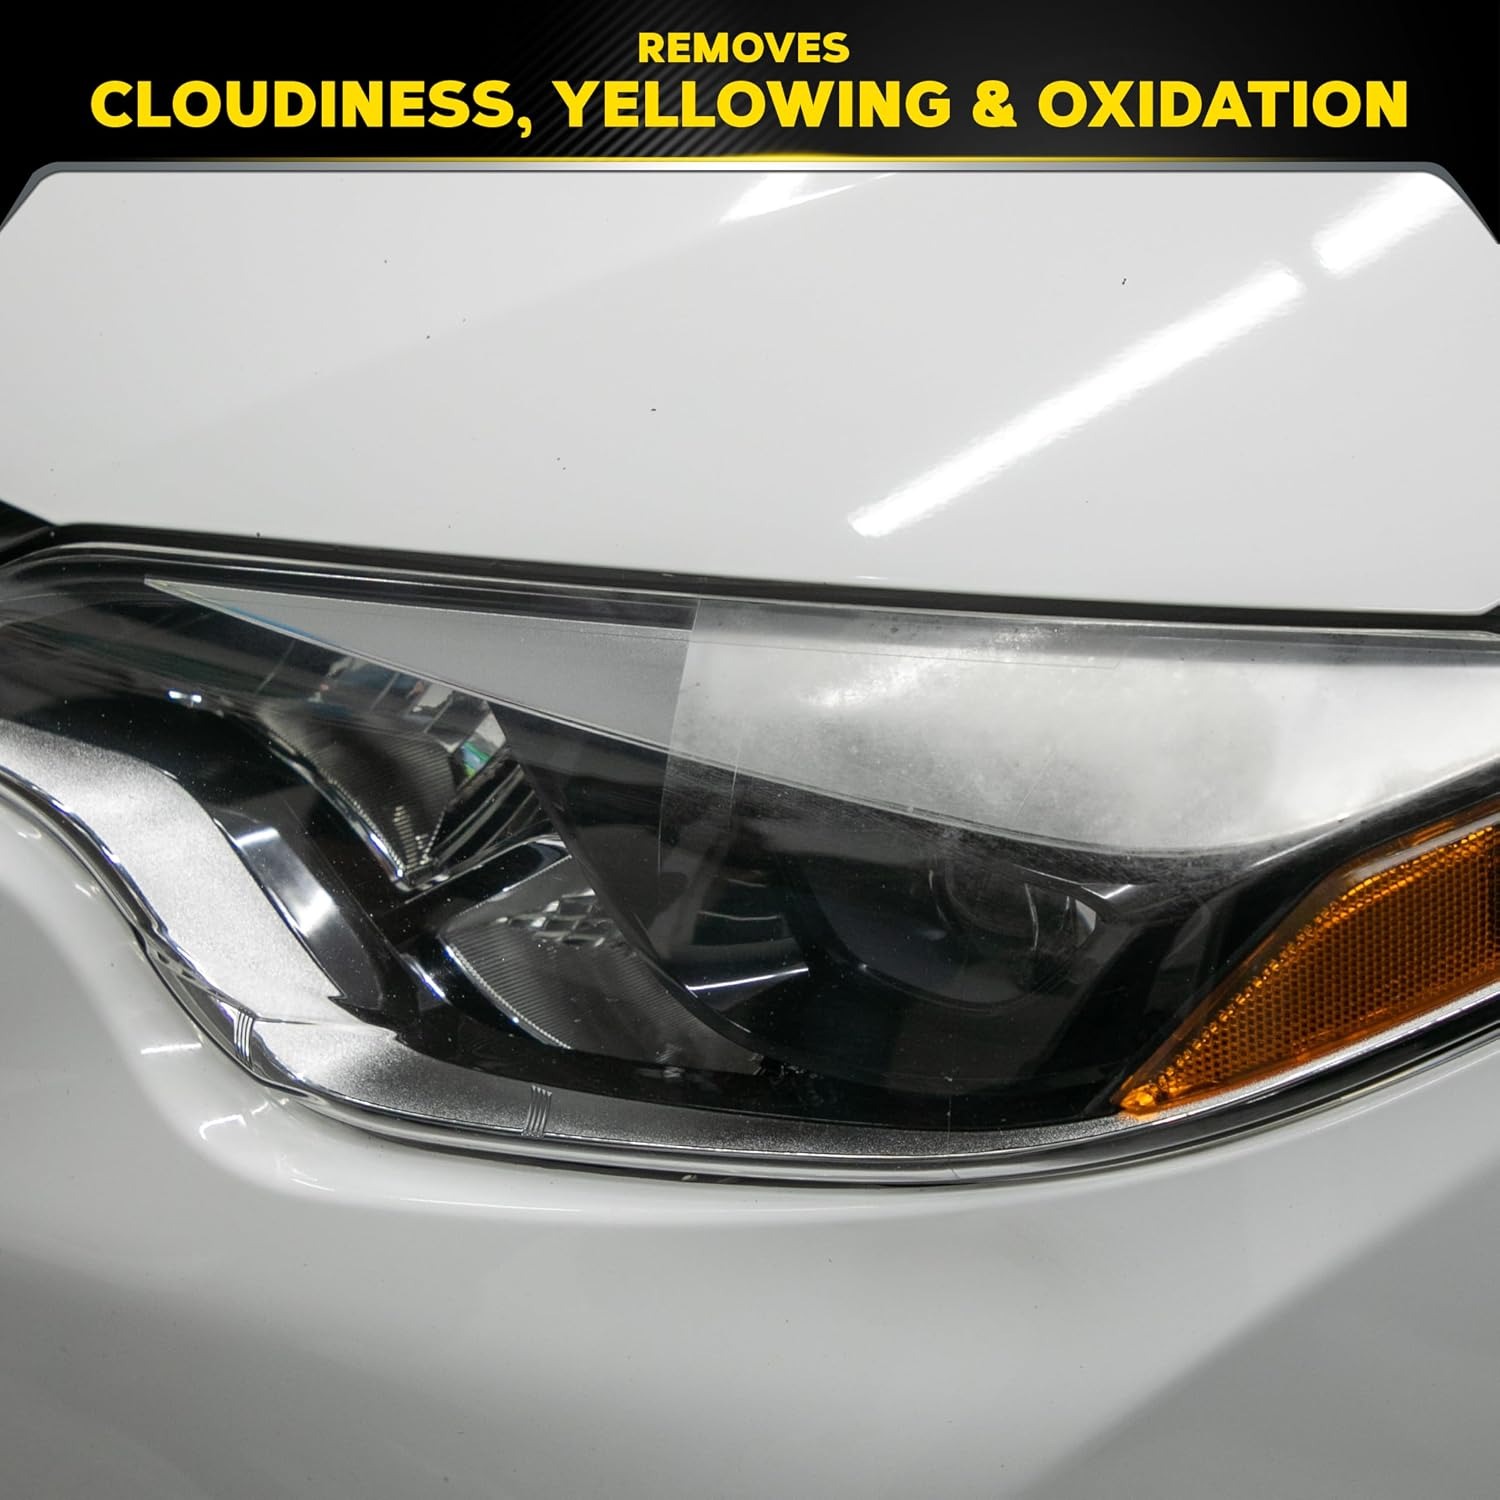
  • Clears Hazy Plastic
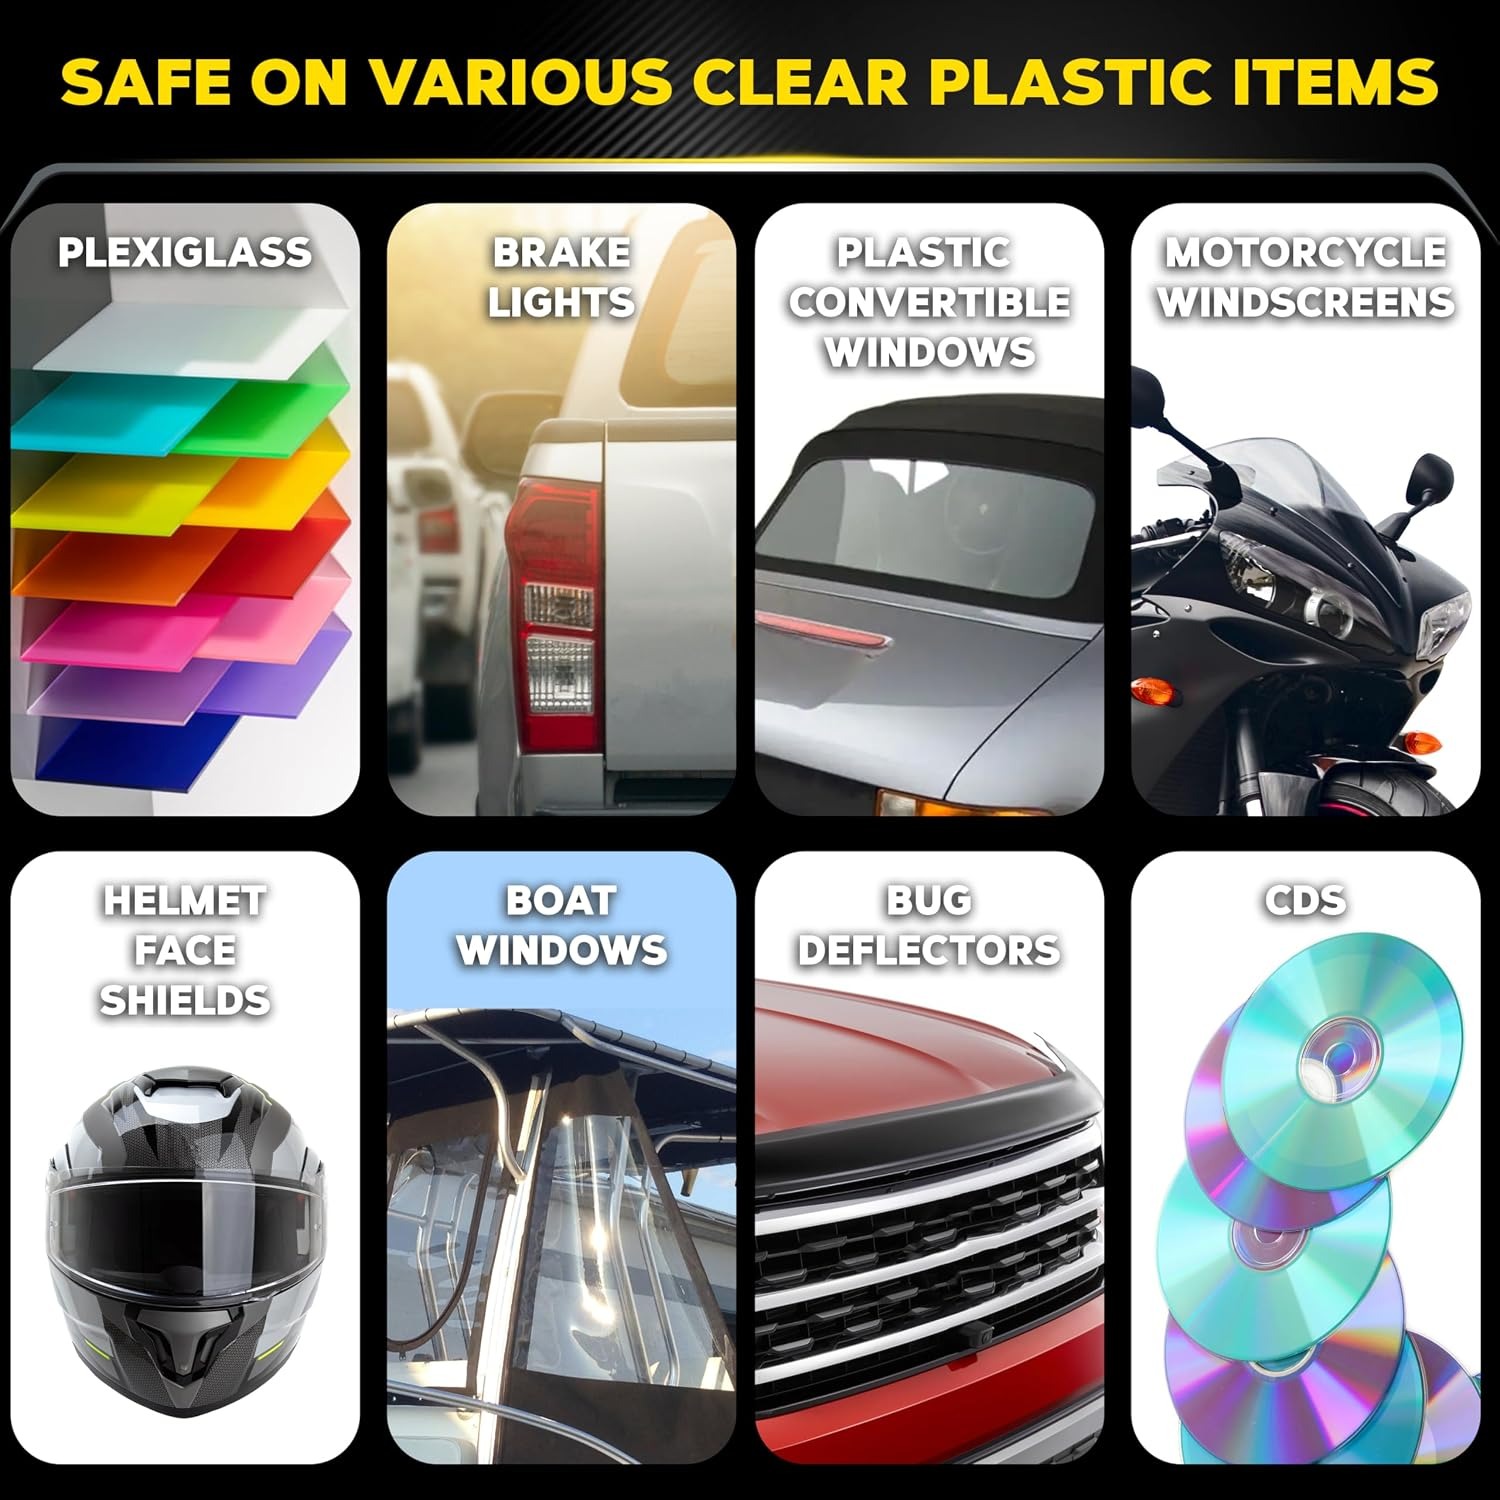
  • More Than Headlights

Price: $55.99 $66.99

  • Delivery time: up to 7 working days by tracked courier, after dispatch within 2 working days
  • Free delivery across Australia on orders $100+, otherwise a flat $25
  • Pay by card or PayPal, handled by the payment provider
  • 15 days to change your mind, plus your Australian Consumer Law guarantees
Product specifications
Volume296 ml
Product TypePlastic cleaner and polish
Suitable SurfacesUncoated clear plastics, rigid and flexible
GritFine
Bottle Size39 x 83 x 194 mm
Item Weight335 g
ApplicationBy hand with a soft cloth
ConditionNew
Weight335 g
Shipping & returns

Tracked delivery anywhere in Australia. It is free on orders of $100 or more, and a flat $25 below that. Allow up to 7 working days in transit after dispatch within 2 working days.

This shop's own returns policy gives you 15 days from purchase to change your mind, on every product it sells. Send it back in its original packaging with proof of purchase and we refund the price you paid for the goods, processed within 24 to 48 hours of the return arriving. You cover the cost of returning it unless the item is faulty.

If it arrives faulty, damaged or not as described, we put it right at no cost to you under the Australian Consumer Law's consumer guarantees, return postage included.

Shipping details · Refunds and returns

296 ml BottleEnough product for a set of lamps with plenty left for later touch-ups.
Applied By HandWorks with a soft cloth, so no machine polisher is needed.
Clears Hazy PlasticFine micro-abrasives work on cloudiness, yellowing and light scratching.
More Than HeadlightsSuits uncoated rigid and flexible clear plastics, including plexiglass panels.

Bring cloudy, yellowed lamps back into focus with a headlight polish you apply by hand in an afternoon.

A one-step clear plastic cleaner and polish with a fine micro-abrasive formula that lifts oxidation, haze and light scratches from uncoated rigid and flexible plastics.

A one-step headlight polish that cleans and polishes uncoated clear plastic in the same pass, so you are not juggling two bottles on the driveway.

The fine micro-abrasive formula works on cloudiness, yellowing, oxidation and the fine scratching that builds up on lamp lenses over the years.

It suits rigid and flexible uncoated clear plastics, which covers headlight lenses, brake light lenses, plastic convertible windows and plexiglass.

You apply it by hand with a soft cloth, so there is no machine polisher, no power lead and no sanding stage to learn.

The 296 ml bottle is sized for a full job plus later top-ups, and it also works alongside a restoration kit when you want to refresh the finish.

Headlight Polish (296 ml)

Headlight lenses do not fail all at once. They fade. Sun, grit, road spray and washing all work on the outer surface of the plastic until the lamp looks milky in daylight and dull at night. This 296 ml clear plastic cleaner and polish is made for that stage, when the lens is still sound but the surface has gone hazy and the car looks older than it is.

Headlight Polish (296 ml)

The formula does two jobs in one pass. It cleans the surface and it polishes it, using a fine micro-abrasive that cuts away the oxidised top layer and levels fine scratching. Because the abrasive is fine rather than aggressive, you work in small circles and build the result gradually instead of removing a lot of plastic at once. That makes it forgiving for a first attempt.

Headlight Polish (296 ml)

It is not only for headlights. The product is intended for uncoated clear plastics generally, rigid and flexible, so it can be used on brake light lenses, plastic convertible rear windows and plexiglass panels around the house or boat. Always test a small, out of the way patch first and check the result before you commit to the whole panel, because plastics vary and some carry a factory coating that should be left alone.

Headlight Polish (296 ml)

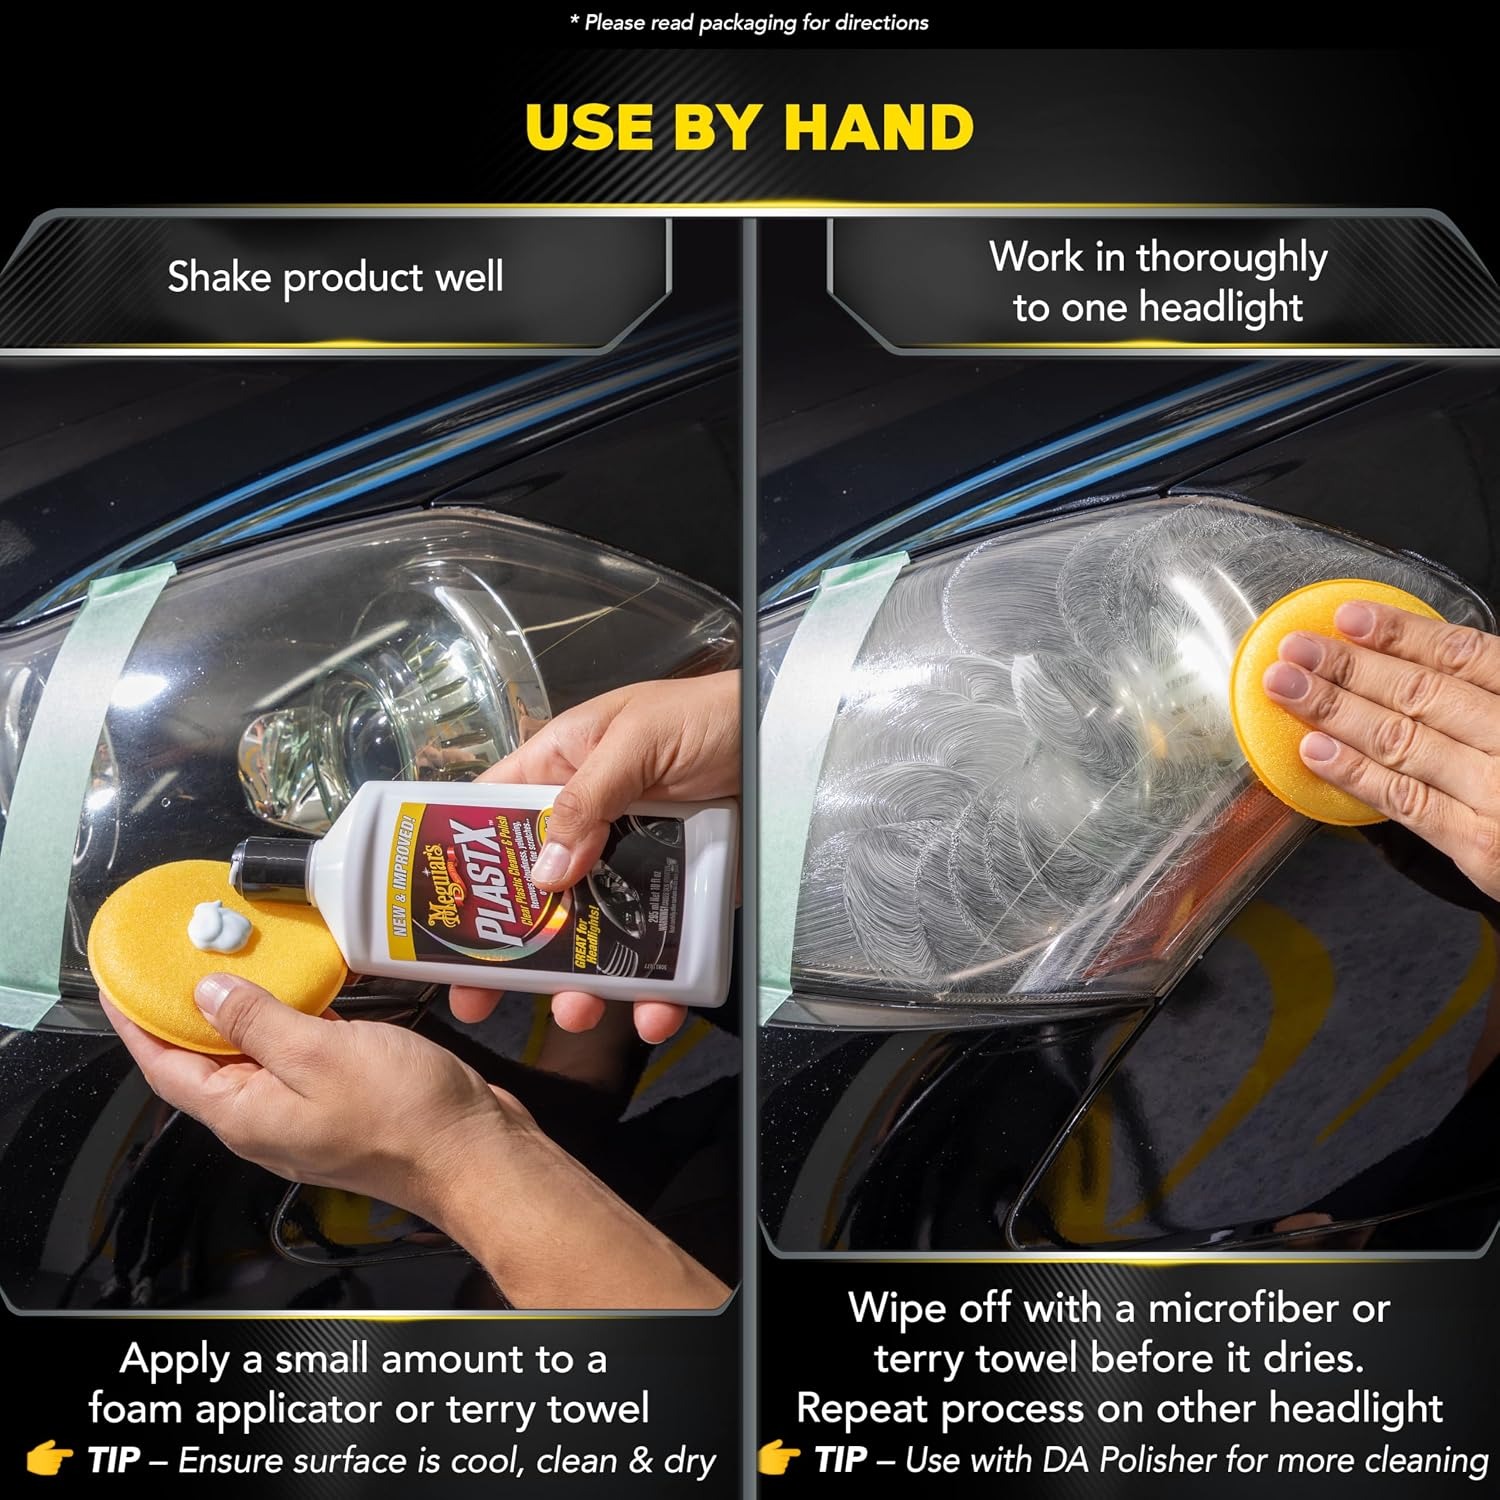
Application is by hand. Wash and dry the area, mask the paint and trim around the lamp with tape so the polish stays on the plastic, then apply a small amount to a soft cloth and work it over the lens with firm, steady pressure. Keep the cloth turned to a clean face as it loads up, then buff off the residue with a fresh dry cloth. Repeat on any patch that still looks cloudy.

Headlight Polish (296 ml)

What you get back depends on where you started. A lens with surface oxidation and light scratching usually responds well. Deep cracks, crazing, moisture trapped inside the housing and damage on the inner face of the lens cannot be reached from the outside and will not be corrected by polishing. Heavily degraded lenses may need sanding with a full restoration kit first, with this polish used afterwards to finish and to keep the result looking fresh.

Not sure yet? That is fine.

You can change your mind. This shop's own returns policy gives you 15 days from purchase to send it back in its original packaging with proof of purchase, and we refund the price you paid for the goods.

If it turns up faulty, damaged or not as described, that is on us. The Australian Consumer Law covers you, we pay the return postage, and you can have a repair, a replacement or your money back. Read the full detail on our refunds and returns page, or ask us anything before you order.

Frequently Asked Questions

What exactly is this product?

It is a 296 ml one-step cleaner and polish made for clear plastics. It cleans the surface and polishes it in the same pass using a fine micro-abrasive. You apply it by hand with a soft cloth.

What does it do to a cloudy headlight?

It works on the outer surface of the lens, removing the oxidised, hazy layer and levelling fine scratching. That lets more light pass through the plastic and makes the lens look clearer. How much improvement you see depends on how degraded the lens is to begin with.

Will it fix yellowing?

It is formulated to address yellowing and cloudiness that sit on the outer surface of uncoated clear plastic. If the discolouration is on the surface, polishing can reduce it. If the plastic has yellowed all the way through, or the damage is on the inside face, polishing from the outside will not reach it.

How big is the bottle?

It holds 296 ml and the bottle measures 39 x 83 x 194 mm. Item weight is listed as 335 g. That is a generous amount for a set of headlights with product left over for later touch-ups.

Do I need a machine polisher?

No. This is a hand-applied product and works with a soft cloth. A machine is not needed, which keeps the job simple and means you can do it anywhere you can park the car.

What surfaces is it suitable for?

It is intended for uncoated clear plastics, both rigid and flexible. That covers headlight lenses, brake light lenses, plastic convertible rear windows and plexiglass. Test a small area first on any surface you are unsure about.

Can I use it on glass headlights?

This is a plastic cleaner and polish, so it is designed around clear plastic rather than glass. Older vehicles with glass lenses generally do not suffer the same surface oxidation. If your lens is glass, a dedicated glass product is the better match.

Is it safe on painted panels?

It is a fine abrasive polish, so it is best kept on the plastic. Mask the paint and trim around the lamp with tape before you start, and wipe away any stray product straight away. That keeps the work tidy and avoids dulling the surrounding finish.

Will it work on a coated headlight?

The product is described for uncoated clear plastics. Many factory lenses carry a clear coating when new, and once that coating starts failing it usually flakes rather than hazes evenly. If the coating is still intact and sound, leave it alone.

How long does the job take?

Most people spend somewhere between twenty minutes and an hour on a pair of headlights, depending on how bad they are and how many passes they do. Washing and masking takes a few minutes on top. Working slowly and checking your progress gives a better result than rushing.

How many coats should I apply?

Start with one pass over the whole lens, buff it off, then look at the surface in daylight. If patches still look hazy, go over those again. Several light passes usually beat one heavy one with a fine polish like this.

Can it remove deep scratches?

It is a fine grit product aimed at fine scratching and surface haze. Deep gouges, cracks and crazing go further into the plastic than a fine polish can reach. Those will still be visible after polishing.

What about moisture inside the headlight?

Condensation or water inside the housing is a sealing problem, not a surface problem. No polish applied to the outside can reach it. You would need to address the seal or the housing itself.

Can I use it with a headlight restoration kit?

Yes, it works on its own or as a follow-up alongside a restoration kit. Many people sand badly degraded lenses with a kit, then use a polish like this to finish the surface and to top it up later. It is a useful bottle to keep after a kit is used up.

Do I need to sand the lens first?

Not usually. For surface haze and light scratching, polishing on its own is often enough. Sanding is a step for heavily degraded lenses, and if you go that route you should follow a proper restoration kit process.

How do I prepare the headlight?

Wash the lens with car wash and water, rinse off the grit and dry it. Grit left on the surface can drag under the cloth and cause scratching. Then mask the paint and trim around the lamp with tape.

What cloth should I use?

A clean, soft cloth such as microfibre works well. Use one cloth to apply and a second clean dry one to buff off the residue. Turn to a fresh face of the cloth as it picks up the removed material.

Should I test it first?

Yes. Try a small, low-visibility patch and check how the plastic responds before you work across the whole lens. Plastics vary, and a quick test takes a minute. This is the sensible habit with any plastic headlight cleaner.

Can I use it in direct sun?

Work in the shade or on a cool surface where you can. A hot lens makes the product dry quickly, which makes it harder to spread evenly and harder to buff off. Early morning or late afternoon is easier.

How long will the result last?

That depends on the lens, where the car is parked and the weather it sees. Polishing removes the degraded surface layer, but the plastic is still exposed afterwards, so haze will return over time. Keeping the bottle for periodic top-ups is the practical approach.

Does it protect the lens from coming back cloudy?

It is described as a cleaner and polish, not a protective coating. Treat it as a way to improve and maintain the surface rather than a barrier. Parking under cover and washing regularly also helps.

Can I use it on motorcycle or boat screens?

It is intended for uncoated clear plastics, rigid and flexible, and plexiglass is listed among the surfaces. Screens and panels made from that material are a reasonable match. Test a small corner first, as some screens carry coatings.

Will it work on caravan or trailer light lenses?

Brake light and indicator lenses made from uncoated clear plastic can be polished the same way as headlights. Coloured lenses are usually tinted through the plastic, so polishing cleans the surface rather than changing the colour. The same test-first advice applies.

How should I store it?

Keep the cap closed tightly and stand the bottle upright, away from direct sun and frost. Wipe the neck clean so the cap seals properly. Store it out of reach of children and pets.

Does it have a shelf life?

Keep it sealed and stored sensibly and it should stay usable for a long time. Shake it before each use so the formula is mixed. If it has separated badly or changed in texture, do not force it onto a lens.

Is one bottle enough for two headlights?

Yes. At 296 ml there is plenty for a pair of lenses, usually with a good amount left for touch-ups and other plastic items. A little product goes a long way when applied by hand.

How long will delivery take?

We dispatch within 2 working days. Delivery then takes up to 7 working days by tracked courier, anywhere in Australia. It is free on orders of $100 or more and a flat $25 below that, shown in your cart before you pay. You get a tracking number by email once the parcel is dispatched.

What if it arrives damaged?

Get in touch with photos of the parcel and the bottle and we will sort it out. Do not use product from a leaking or split bottle. Keep the packaging until the matter is settled.

What if it is not right for me?

If the product is unopened and in its original packaging, contact us and we will talk you through a return. If you have used it and it did not do what you hoped on your particular lens, let us know the condition of the plastic and we will give you honest advice about whether a sanding kit or lens replacement is the better path. Results do depend on how far gone the lens is.

Is there a warranty?

No separate warranty is sold. The Australian Consumer Law applies in full, and faulty items are put right. Contact us with your order number and a photo and we will sort it out.

Headlight Polish Buyer's Guide, Clearing Hazy Plastic Lenses by Hand

6 min read Online Auto Company

The problem with plastic lenses

Walk through any car park in the middle of the day and you can pick the cars with tired headlights straight away. The lenses look milky, sometimes faintly yellow, and the reflector behind them is hidden behind a fog. The car might be mechanically fine and the paint might still be sharp, but the lamps drag the whole look down.

It happens because headlight lenses are plastic. Plastic is light, cheap to mould into complex shapes and does not shatter the way glass does, which is why almost every car built in the last few decades uses it. The trade-off is that the outer surface of the plastic slowly breaks down. Sunlight starts it, and then road grit, insects, washing, polishing with the wrong thing and general weather all add to it. The surface roughens at a microscopic level, and rough plastic scatters light instead of letting it pass through cleanly. That scattering is what you see as haze.

The good news is that the damage is usually shallow. In most cases it sits on the outer skin of the lens, not through the body of it. Take that skin off and the clear plastic underneath is still clear. That is the whole idea behind a plastic headlight cleaner like this one.

How a one-step cleaner and polish works

This is a 296 ml bottle of one-step cleaner and polish for clear plastics. The word one-step matters. Rather than cleaning with one product and then polishing with a second, the formula does both in the same pass. You put it on a soft cloth, work it over the lens and the fine micro-abrasive in the mix does the cutting while the carrier cleans the surface and keeps the cloth moving.

The grit is fine. That is a deliberate choice for a hand-applied product. A coarse abrasive would cut faster, but it would also leave its own scratch pattern that you would then have to polish out with something finer. A fine abrasive takes longer and gives you more control. You build the result over a few passes, checking as you go, and you are unlikely to do real harm if you take it steadily.

Because it is hand applied, there is no machine to buy and no technique to learn beyond keeping even pressure and turning the cloth to a fresh face as it loads up. That makes it a sensible choice for someone attempting this job for the first time.

What it suits, and what it does not

The product is intended for uncoated clear plastics, rigid and flexible. In practice that covers more than just the front of your car. Headlight lenses are the obvious use. Brake light and indicator lenses are made of the same family of plastics. Plastic convertible rear windows go cloudy with age and folding, and plexiglass panels on boats, caravans and around the home have the same problem. Any of those are fair game, with a small test patch first.

What it will not do is just as important. Deep cracks in the lens cannot be polished out, because the damage goes further into the plastic than a fine abrasive can reach. Crazing, which looks like a web of tiny cracks, is the same story. If there is moisture or condensation sitting inside the headlight housing, that is a sealing fault and nothing applied to the outside will touch it. Damage on the inner face of the lens, including burn marks or flaking from an internal coating, is also out of reach.

There is one more honest limit. Polishing removes the degraded layer, it does not add a permanent shield. The fresh plastic you expose is still plastic, still sitting in the sun, and it will eventually haze again. How long that takes depends on your climate and whether the car lives under cover. Keeping the bottle on the shelf for a periodic refresh is the realistic plan.

Choosing between a polish and a full kit

People often ask whether they should buy a polish or a full restoration kit with sanding discs. The answer comes down to how far gone the lens is.

Run your fingernail across the surface. If it feels mostly smooth and the problem is a general haze with light scratching, a hand polish is usually the right tool. If the lens feels rough or gritty, if there is visible flaking where an old factory coating has broken up, or if the plastic is deeply yellow, sanding is probably needed first to take off more material before any polishing stage will help.

The two are not rivals. This polish can be used on its own, or as a top-up alongside a restoration kit. Plenty of people sand a badly degraded lens with a kit, finish it with a polish, then come back twice a year with the polish alone to keep the surface in good shape. That is a sensible way to use both.

Doing the job properly

Start with a wash. Grit on the lens is the enemy, because the cloth will drag it across the surface and leave scratches that were not there before. Wash the lamp and the panel around it with car wash and water, rinse well and dry it off.

Next, mask. Run tape around the edge of the lamp so you cover the paint and any trim that borders the plastic. This is a fine abrasive and it does not belong on your paintwork. Masking takes two minutes and saves a lot of annoyance.

Pick a shaded spot or a cool time of day. A lens baking in direct sun will dry the product too fast, which makes it hard to spread and harder to buff off cleanly.

Then test. Choose a small patch at the edge or underside of the lens, apply a little product and work it in. Buff it off and look at the result in good light. Plastics vary, and some panels carry coatings you would rather not disturb. A test tells you quickly whether to carry on.

Once you are happy, put a small amount on a clean soft cloth and work it over the lens with firm, even pressure. Small circles or straight overlapping passes both work, as long as you cover the whole surface. The cloth will start to pick up a dirty residue, which is the oxidised material coming off. Turn to a clean face when that happens. When you have worked the whole lens, buff away the residue with a second dry cloth and look at your progress.

Most lenses want more than one pass. Go back over any area that still looks cloudy and repeat until it stops improving. When you reach the point where another pass makes no difference, that is as far as this method will take that lens.

Keeping the result

Afterwards, the simplest thing you can do is keep the lens clean. Bugs, bird mess and road film left to bake on do the surface no favours. Wash the lamps when you wash the car and dry them rather than letting them air dry with mineral spots.

Where the car parks matters more than most people expect. Undercover parking slows the whole process down considerably, because sunlight is the main driver of plastic breakdown. A car that lives on the street in full sun will need refreshing far sooner than one in a garage.

Store the bottle with the cap on tight, standing upright, out of direct sun and away from frost. Wipe the neck before you close it so the cap seals. Shake it before the next use. Wash your applicator cloths on their own and let them dry fully, since a cloth with dried polish in it is no good for the next job.

The short version

This is a 296 ml hand-applied cleaner and polish with a fine micro-abrasive, made for uncoated clear plastics, rigid and flexible. It suits headlight lenses, brake light lenses, plastic convertible windows and plexiglass. It targets cloudiness, yellowing, oxidation and fine scratching on the surface of the plastic.

Wash, mask, test a small area, then work it in by hand with a soft cloth and buff off. Expect to do a few passes. Expect a real improvement on a lens whose problem is surface haze, and expect no change at all on cracks, crazing or moisture trapped inside the housing, because none of that can be reached from the outside.

It can be used on its own, or alongside a restoration kit when a lens needs sanding first. Results depend on the condition of the lens you start with, and keeping the bottle for occasional top-ups is the sensible way to use it.

Browse the shop

Not sure if polishing will help your lenses?

Tell us what your headlights look like now and we will give you a straight answer about whether a hand polish is enough or a sanding kit is the better starting point.

Ask us a question

Page summary

This is a 296 ml one-step cleaner and polish for clear plastics, sold in the headlights category. It uses a fine micro-abrasive formula and is applied by hand with a soft cloth, so no machine polisher is required. It is intended for uncoated clear plastics, both rigid and flexible, which includes headlight lenses, brake light lenses, plastic convertible windows and plexiglass. It addresses surface cloudiness, yellowing, oxidation and fine scratching, and can be used on its own or as a follow-up to a headlight restoration kit. The bottle measures 39 x 83 x 194 mm and the item weight is 335 g. Results depend on the condition of the lens.