
The complete guide
How to Restore Cloudy Headlights by Hand - A Practical Buyer's Guide
Why headlights go cloudy in the first place
Walk through any car park and you will spot it quickly. Cars that are five, eight, twelve years old with headlights that have gone from clear to milky, sometimes with a yellow or amber cast across the whole lens. The body might be in good shape, the wheels clean, and yet the front of the car looks weary.
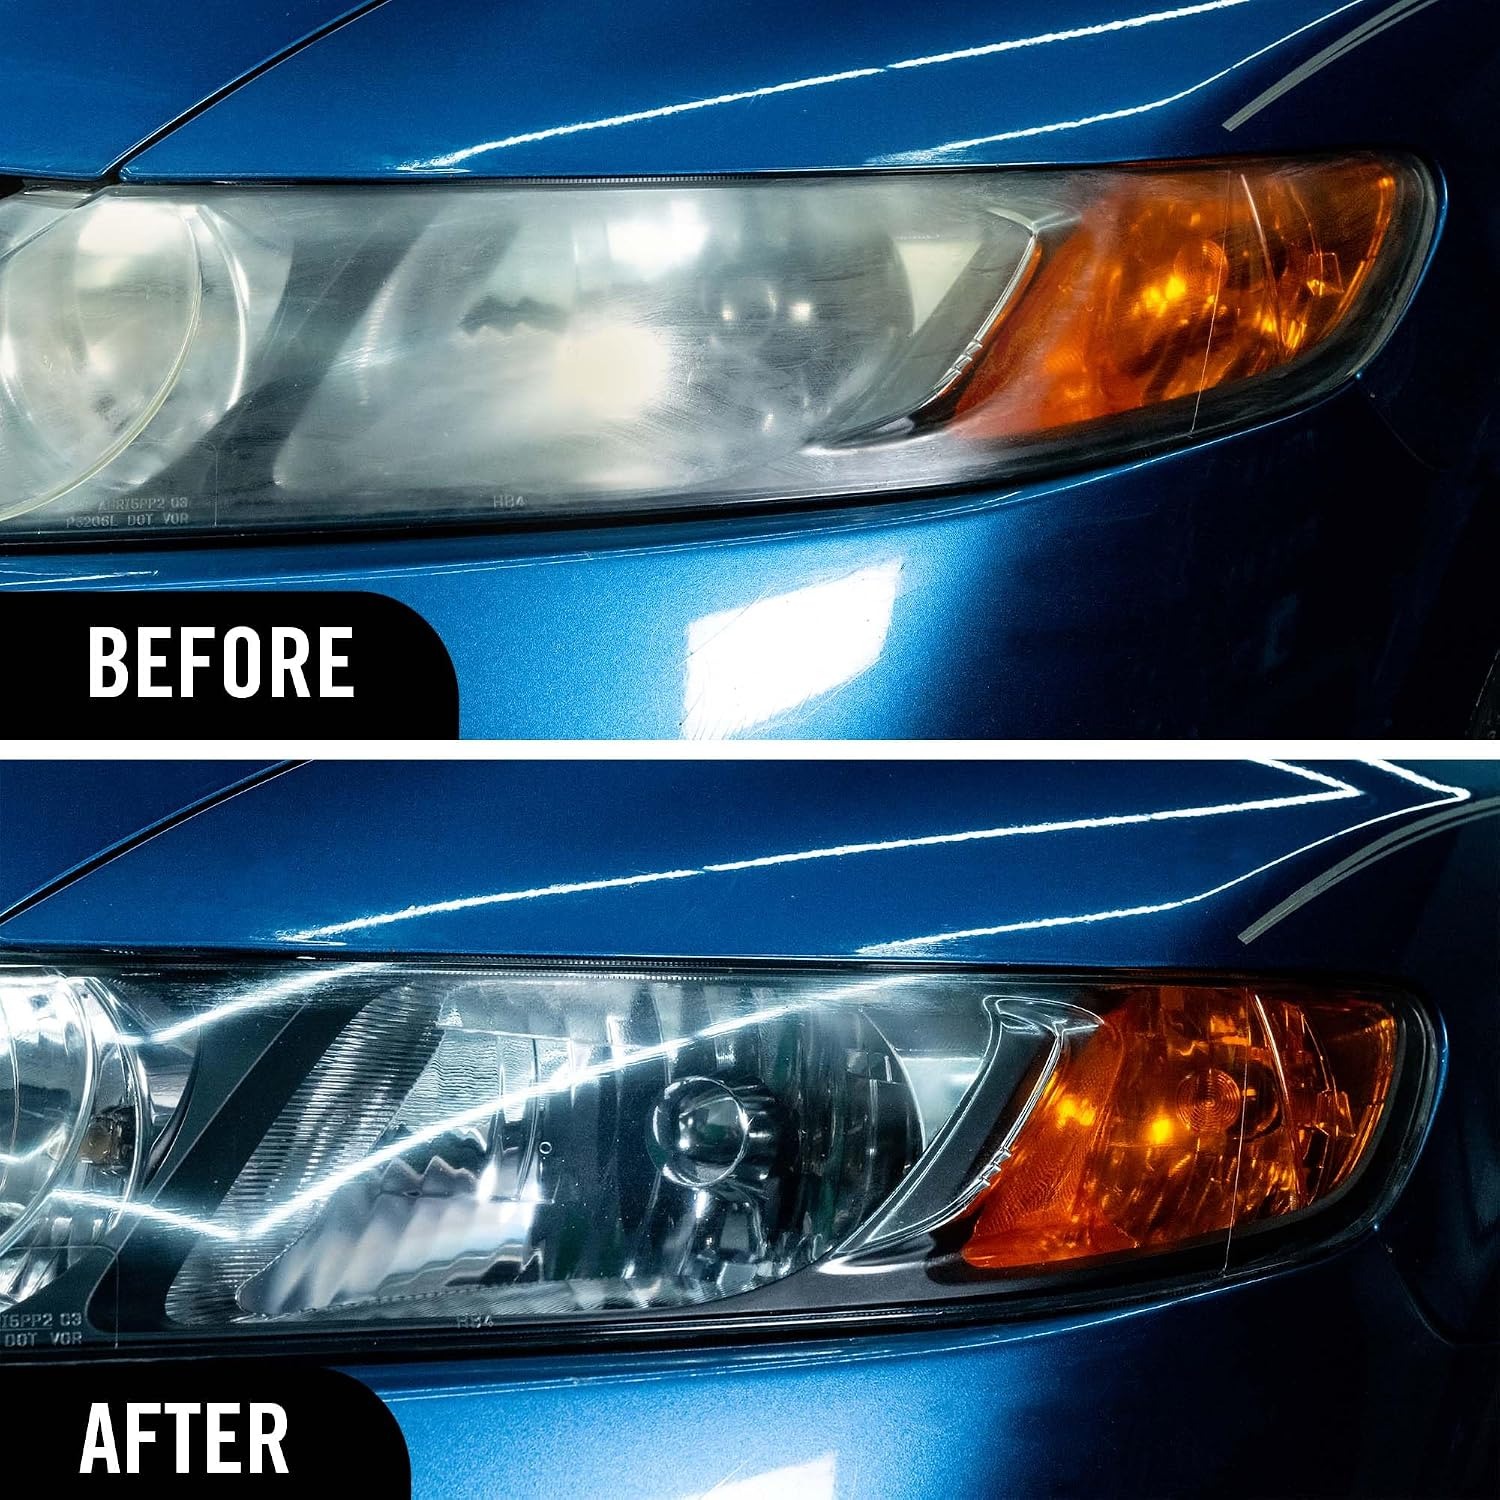
The reason is simple enough. Almost every modern headlight lens is made from a tough clear plastic rather than glass. Plastic is lighter, safer in a knock and far easier to mould into complex shapes. The trade-off is that bare plastic does not cope well with ultraviolet light, so manufacturers apply a protective coating at the factory. That coating is the part that fails. Years of sun, heat cycles, road grit, bug strikes and repeated washing wear it thin, and once it breaks down the plastic underneath starts to oxidise. That oxidation is the haze you are looking at.
It is worth understanding this because it shapes what a restoration kit can actually do. The problem lives on the outside surface of the lens, in a very thin layer. Work that layer away carefully and the clear plastic beneath it comes back into view. Nothing you do from the outside reaches inside the housing.
What is in the kit and what each part does
This pack holds four things. Multi-stage wet restoration pads, a spray lubricant, a lens clarifying compound and lens sealing wipes. Each one has a job.
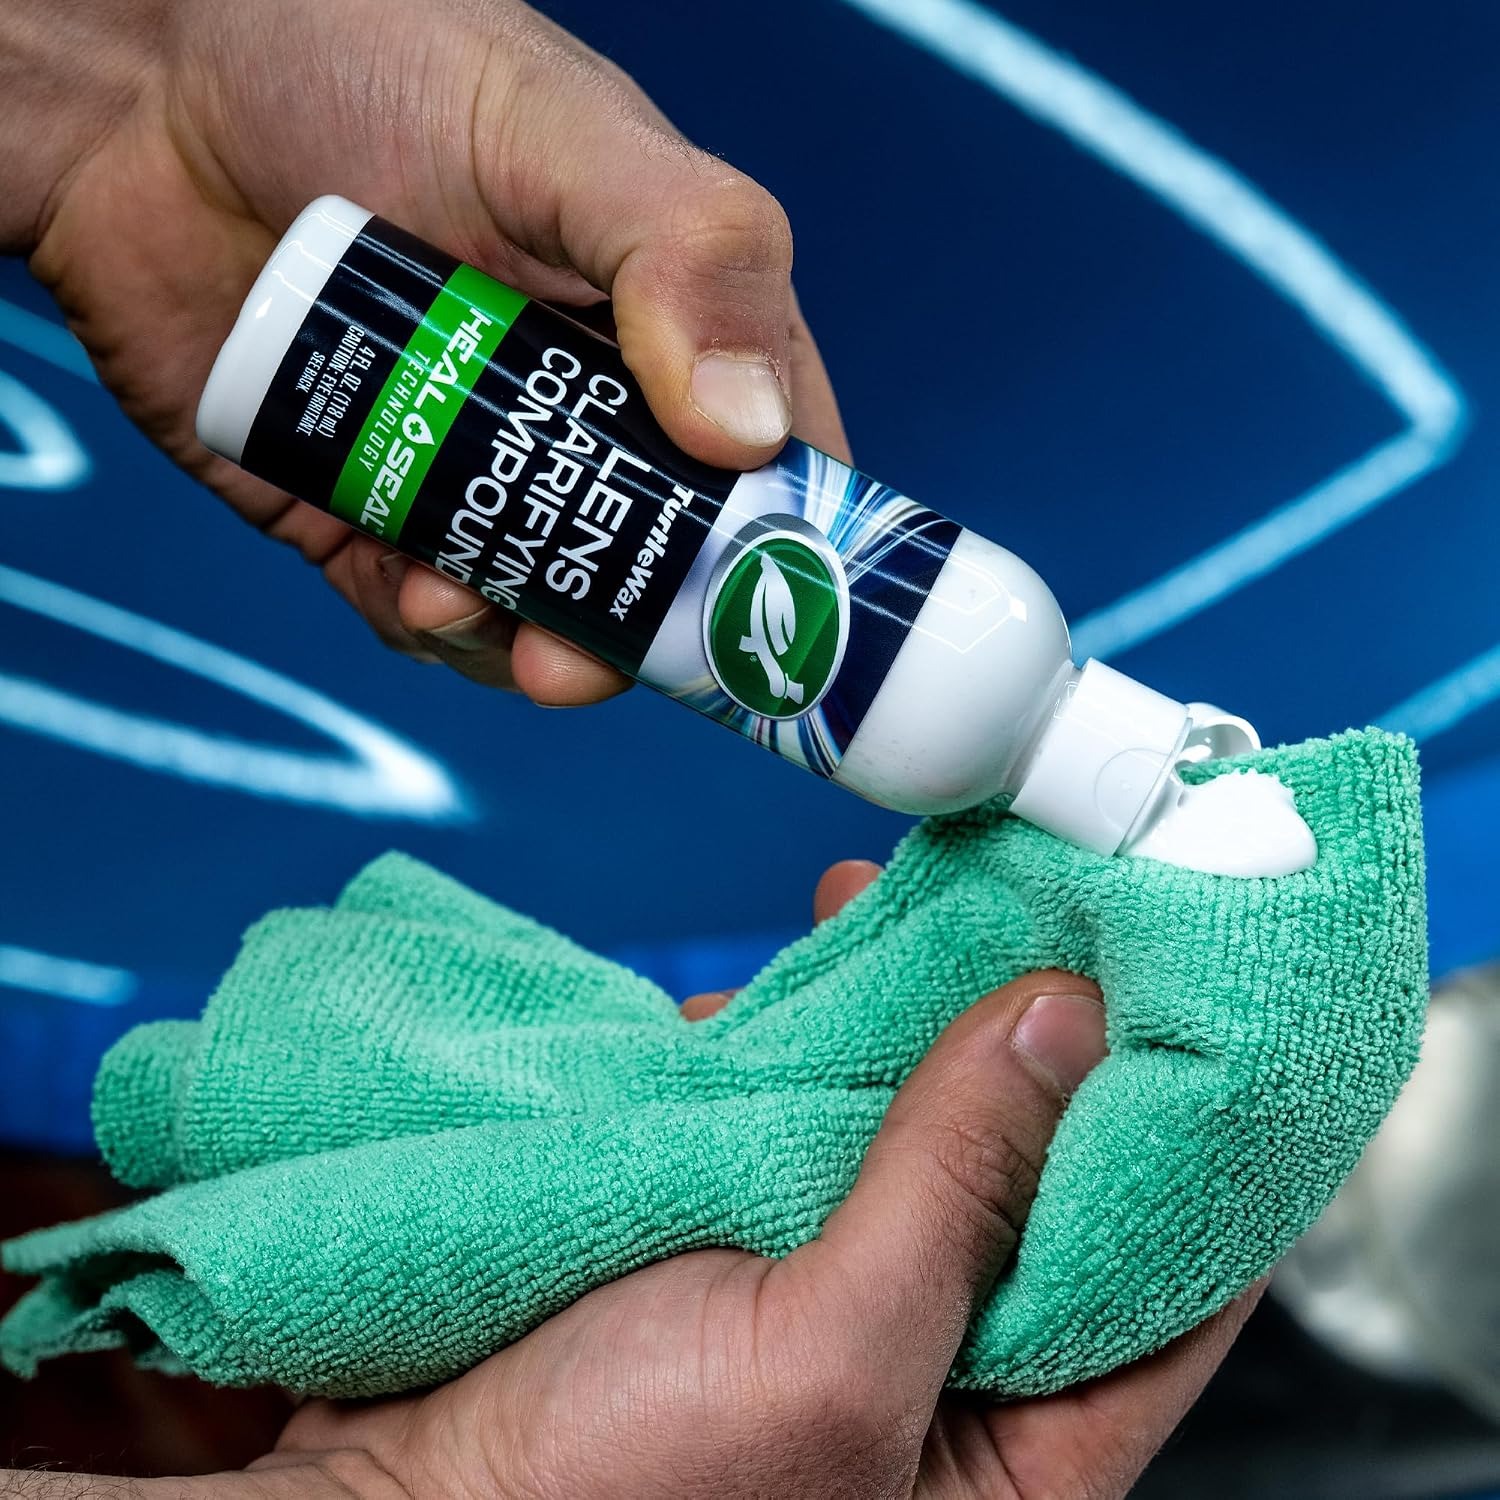
The clarifying compound is the gentle option. It works on surface discolouration, and on a lamp that is only lightly hazed it may be the only thing you need. Plenty of people open the kit, try the compound on one lamp first, and discover the lens cleans up without going any further. That is a good outcome, because the less material you remove, the better.
The wet restoration pads handle the heavier cases. They come in stages, from coarse through to fine, and they physically take off the damaged top layer of plastic. You start with the coarsest grade the lens needs, then step down through the finer ones. Each stage removes the scratch pattern left by the one before it, which is why skipping a stage tends to show up as a dull, streaky finish.
The spray lubricant goes hand in hand with the pads. Wet work keeps the pad moving smoothly across the lens instead of grabbing, and it flushes away the removed material so it does not sit under the pad and cause fresh scratching. If the lens starts to feel dry or the pad starts to drag, spray again.
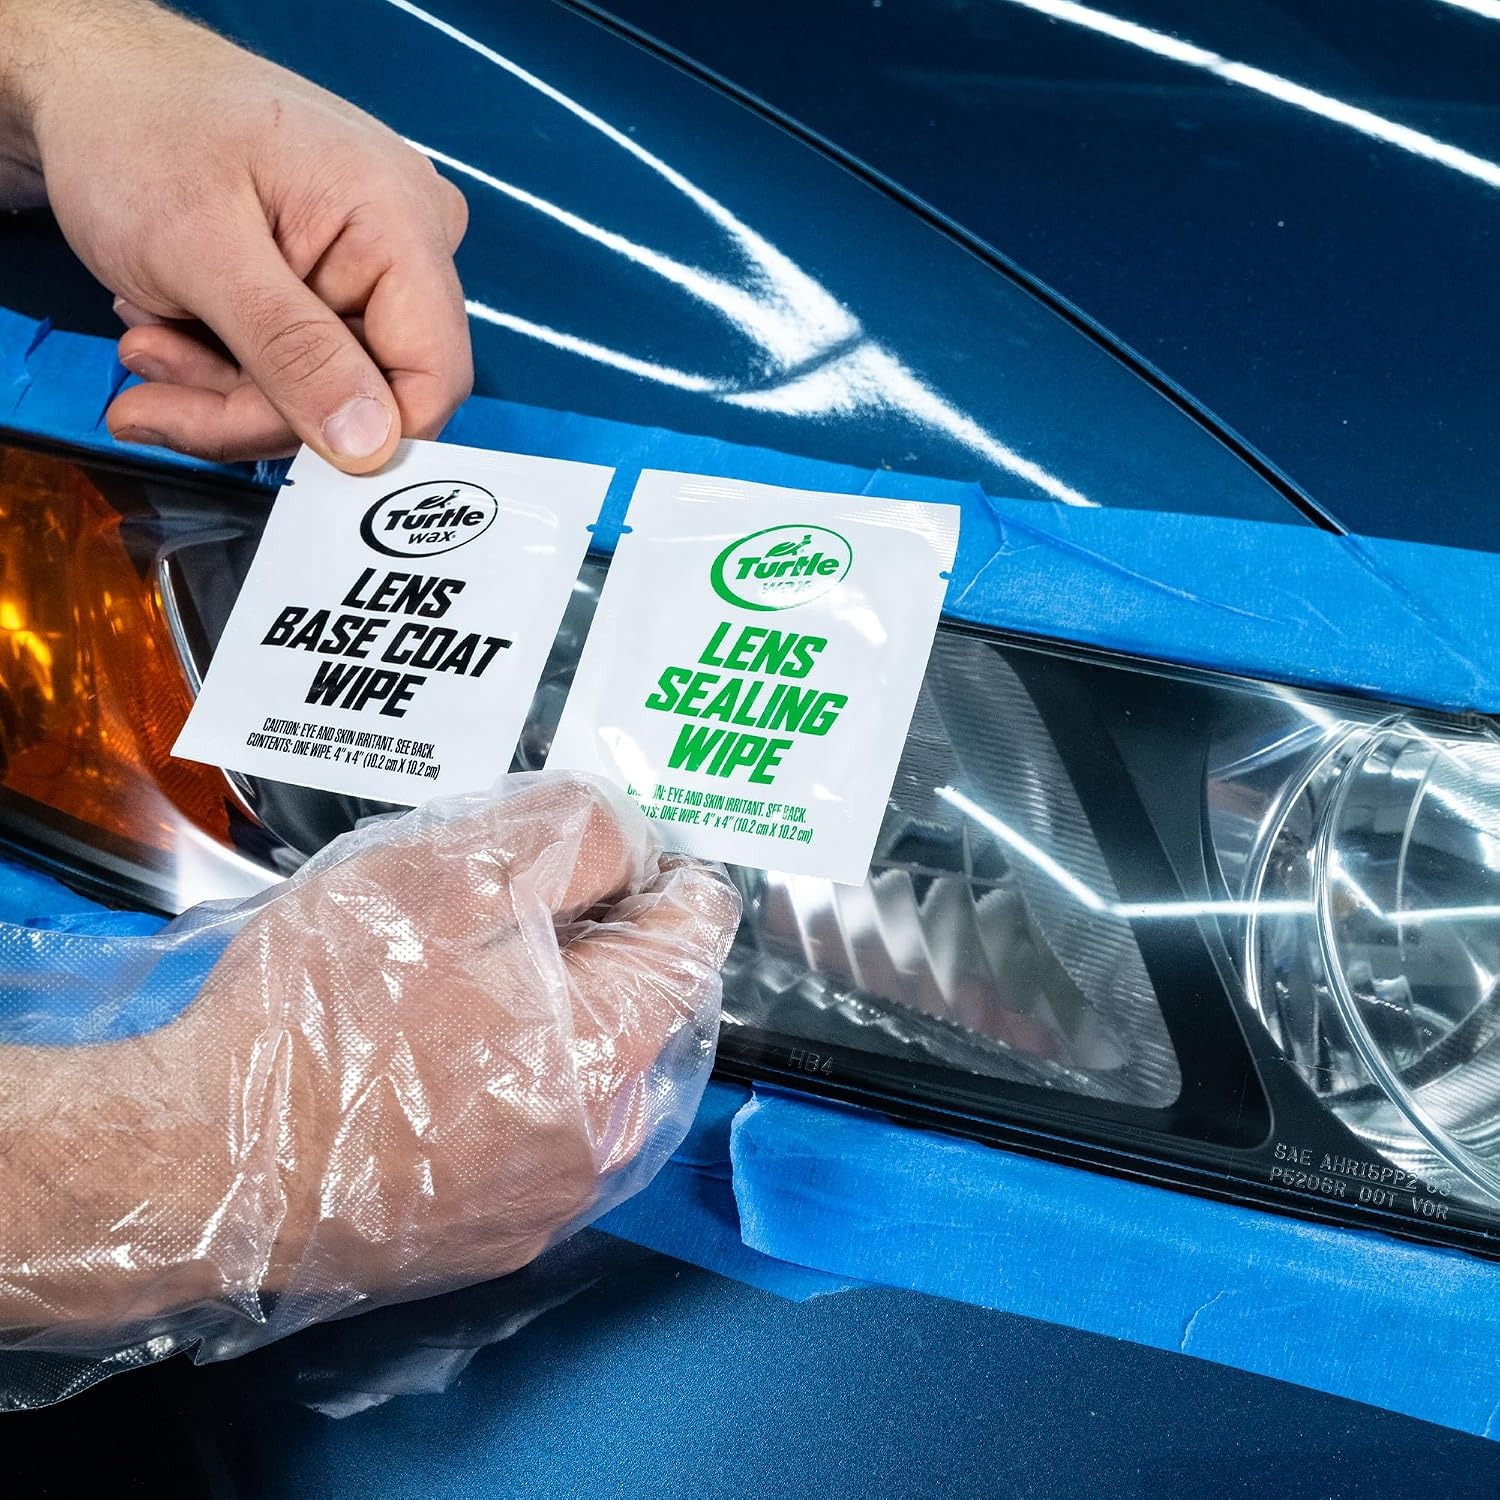
The sealing wipes are the final step. Because restoration removes the factory coating along with the haze, the finished lens is bare plastic. The wipes lay down a protective layer over it. Do not skip this part just because the lens already looks good at that point.
Who this suits
This kit is a good fit for someone who wants to tidy up their own car without booking it into a detailer or buying power tools. Everything is done by hand. There is no drill, no backing plate, no polisher. That means no risk of running a machine too long in one spot, and it means you can stop every minute or two to rinse the lens and see where you are up to.
It suits daily drivers with a few years on them, second-hand cars being prepared for sale, caravans and campers where the plastic has baked in the sun, and boats or motorbikes with hazed screens. Because it works on plexiglass and other plastic surfaces, it has uses beyond the car itself.
If the plastic has gone chalky all the way through, or the lens has fine cracking across it, the improvement will be limited.
How to work out whether your lenses are a good candidate
Start by washing the lamps with normal car wash and drying them. A surprising amount of apparent haze is just film and road grime, and sometimes a proper clean is most of the job.
Next, run a fingernail across the surface. If it catches on scratches, those are deeper than surface oxidation and may not come out completely. Then look at the lens in good light. Haze that sits like a fog over the surface is classic oxidation and responds well. Yellowing that looks like it is coming from deep inside, or a lens with tiny crazed cracks, is a sign the plastic itself has aged, and that is harder to improve.
Finally, check for anything behind the lens. Water droplets, fogging on the inside, a cloudy reflector or a lens that has partly separated from its housing are all internal issues. No amount of outside work will fix them.
Doing the job properly
Preparation makes the difference between a neat result and a frustrating one.
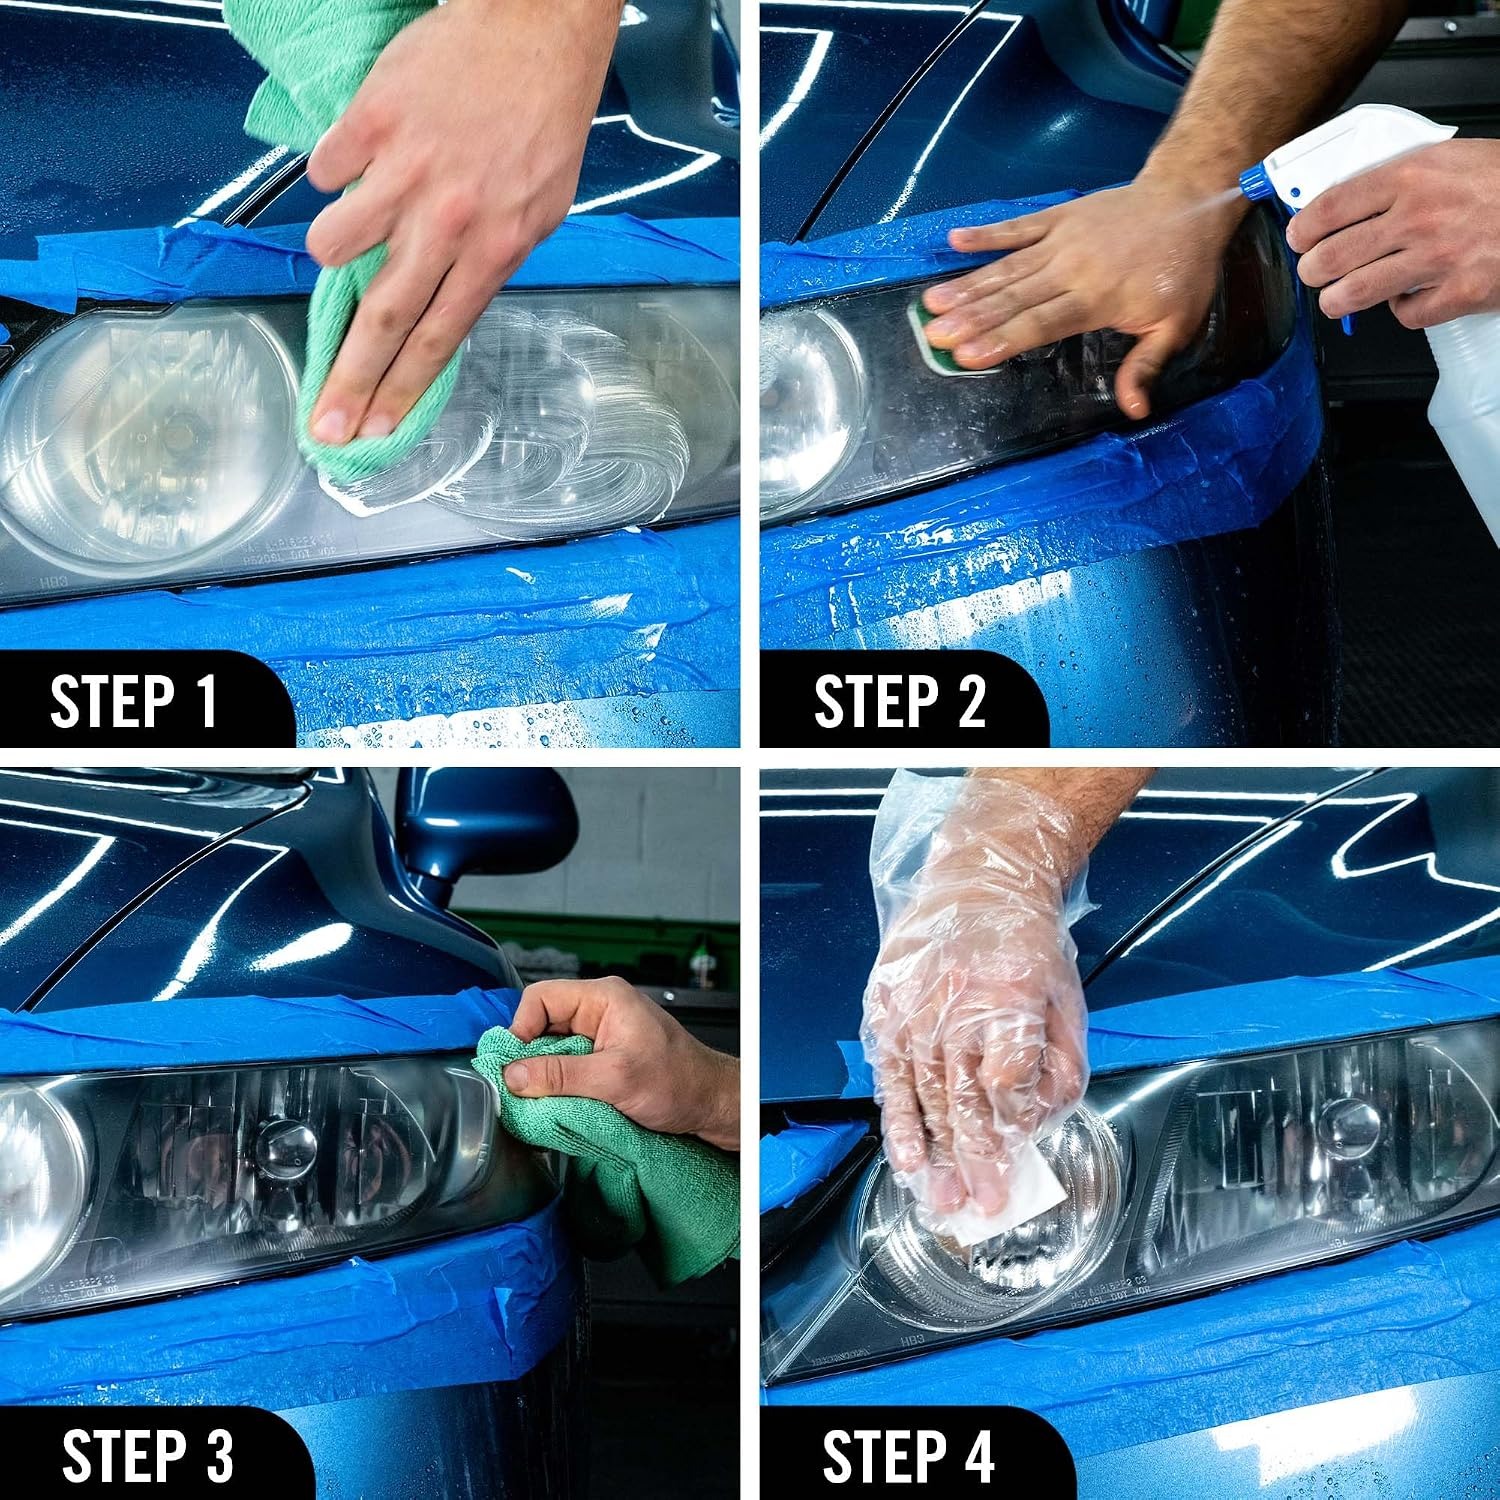
Mask first. Run masking tape along every painted panel, bumper edge, rubber seal and piece of trim that touches the lamp. The pads and compound are not meant for paint and a slip is easy to make when you are concentrating on the lens. Two layers of tape on the edges nearest the lamp is cheap insurance.
Test a small area. Pick a corner of the lens and work it lightly, then rinse and look. You will learn how this particular plastic behaves, how much pressure it needs and how quickly it responds, all before you commit to the whole lamp.
Work in the shade if you can. In hot sun the lubricant evaporates almost as fast as you spray it, and you spend the whole job chasing a dry surface. Early morning, late afternoon or a shaded carport is easier.
Keep it wet, keep it even. Work in overlapping passes rather than circles in one spot, and change direction between stages so you can see when the previous scratch pattern has gone. Rinse and dry the lens between stages to check your progress properly, because a wet lens always looks clearer than it really is.
Finish with the sealing wipes on a clean, dry lens. Then take the tape off while it is still fresh, before it has a chance to bake on.
Looking after the result
Once the factory coating is gone, the lens relies on whatever protection you put on it. How long the clarity holds depends on things outside the kit's control, like how much sun the car sits in, whether it lives in a garage, and how it gets washed. A car parked under a tree in a cool suburb will hold up differently to one baking on a northern driveway all summer.
Treat the lamps as part of your normal car care routine. Wash them when you wash the car, avoid harsh solvents on them and re-apply protection periodically. If haze starts creeping back, the earlier you catch it the less work it takes.
Store the kit properly between uses. Keep lids and sachets closed, rinse the pads and let them dry fully, and stand the spray lubricant upright. A kit that has dried out in a hot boot is no use to anyone.
Being realistic about results
A good restoration kit can make a tired car look noticeably better from ten paces. What it cannot do is turn back time on plastic that has structurally aged, and it cannot reach anything inside the housing. Deep cracks, trapped moisture and damaged reflectors are all beyond what any surface treatment can address, and if you find those, the honest answer is that the lamp may need replacing.
Results vary lamp to lamp, car to car. Two vehicles of the same age parked in different places can be in completely different condition. That is why the test patch is worth the two minutes it takes.
The short version
Cloudy headlights are usually a thin layer of oxidised plastic sitting on the outside of the lens. This headlight lens restorer kit gives you multi-stage wet restoration pads, a spray lubricant, a lens clarifying compound and lens sealing wipes to work that layer off by hand, with no drill or polisher involved.
Mask the paint, test a small area, keep the lens wet, work through the pad stages in order and finish with the sealing wipes. On lightly hazed lamps the compound alone may do it. On heavier cases the pads will carry the load.
Know what it cannot reach. Cracks, internal moisture and damage behind the lens are outside its scope. For everything on the surface, it gives you a tidy, low-cost way to spend an afternoon and get a visibly better looking car at the end of it.