
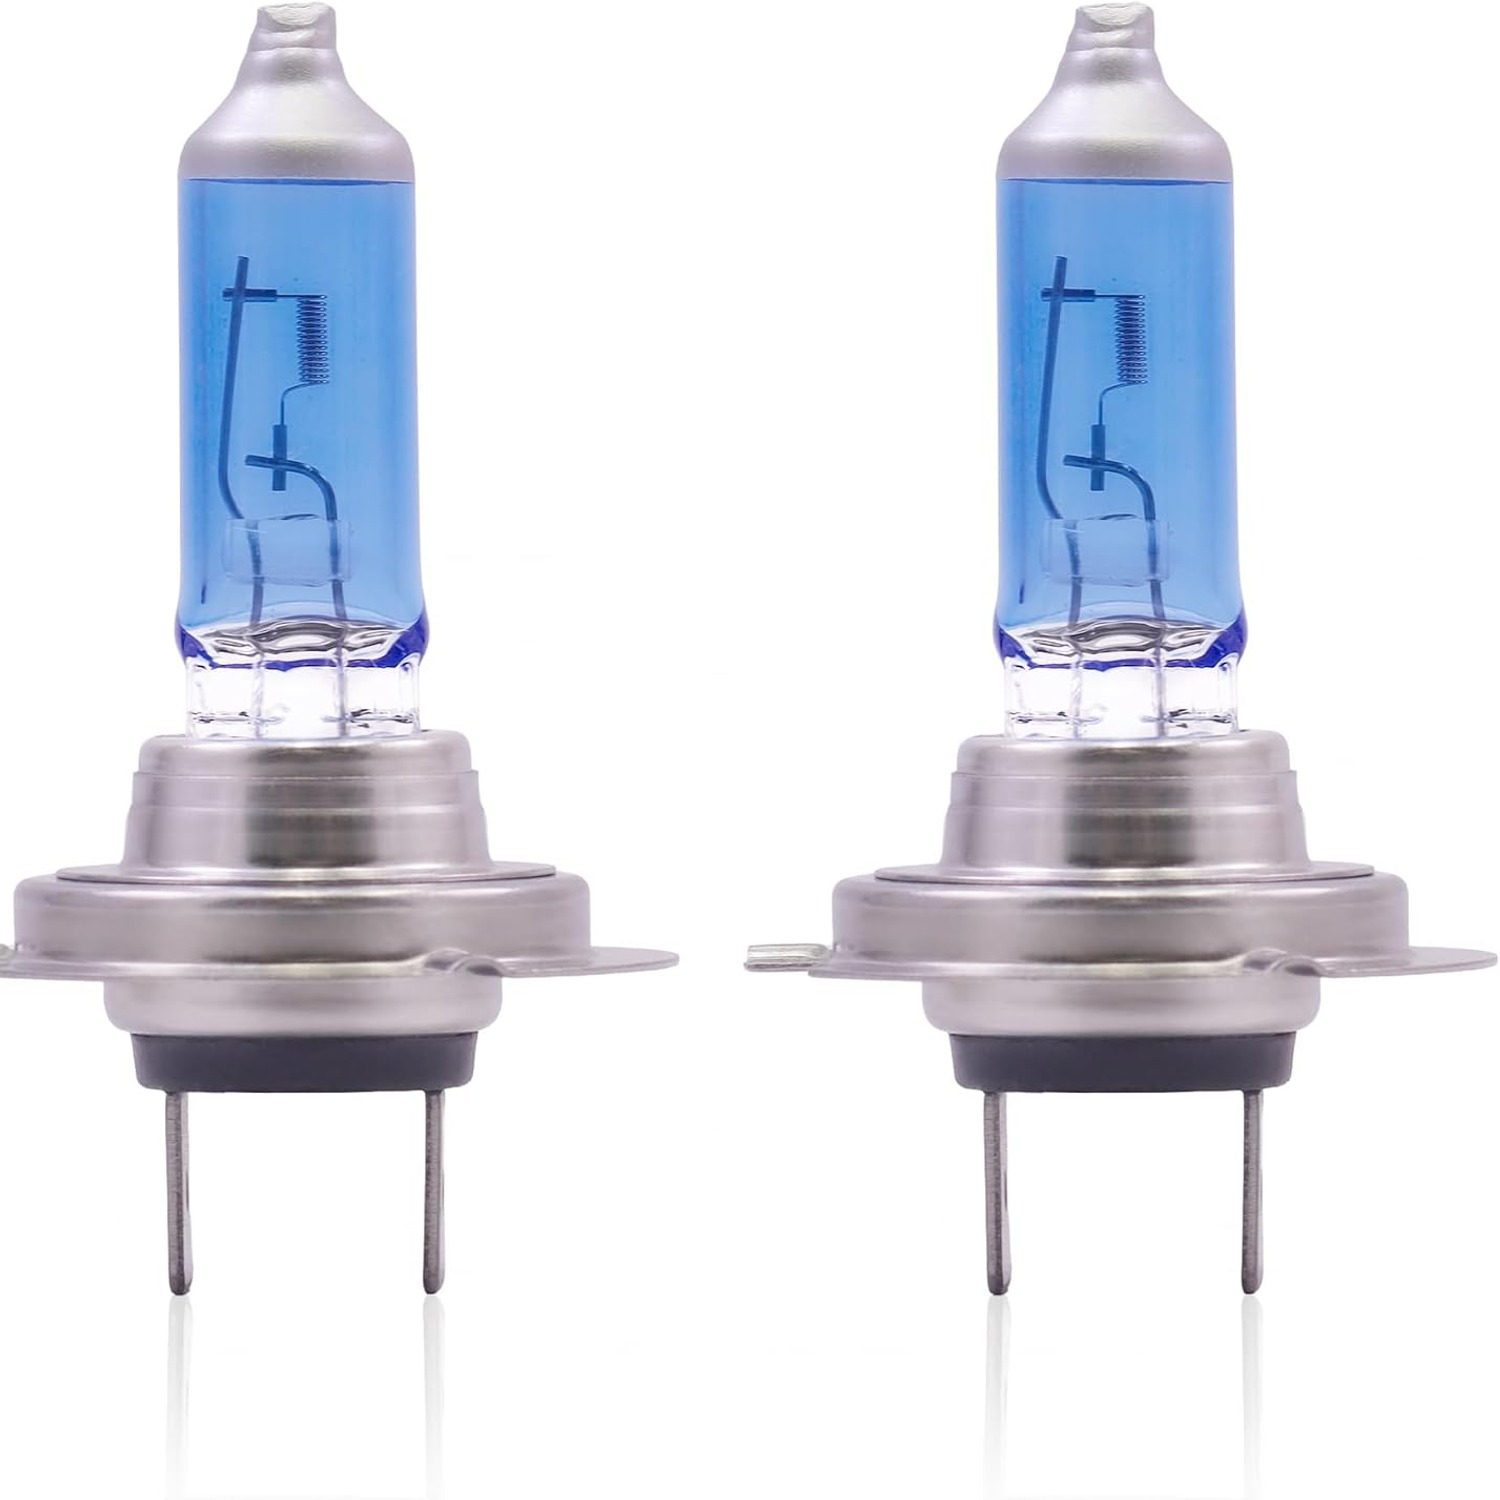
The complete guide
H7 Halogen Headlight Globes, a Plain Buyer's Guide
Night driving gets worse so slowly you stop noticing
Most people do not replace their headlight globes because one failed. They replace them because a passenger says something, or because a wet night on an unlit road suddenly feels harder than it used to. Halogen globes fade as they age. The filament thins, the glass slowly darkens, and the light that reaches the road drops off a little at a time. You adapt without realising, which is the awkward part.
A fresh pair of H7 halogen headlight globes is one of the cheapest, fastest things you can do about it. There is no wiring, no mounting bracket, no control box. You take the old globe out, you put the new one in, and the light in front of the car goes back to what the headlight was designed to produce.
This guide covers what the H7 fitting is, how to check whether your car uses one, what the specs on this pack actually mean, and how to fit the globes without shortening their life on day one.
What an H7 globe actually is
It tells you the base shape, the number of filaments, and the way the globe locks into the headlight so the filament lands in exactly the right spot in front of the reflector.
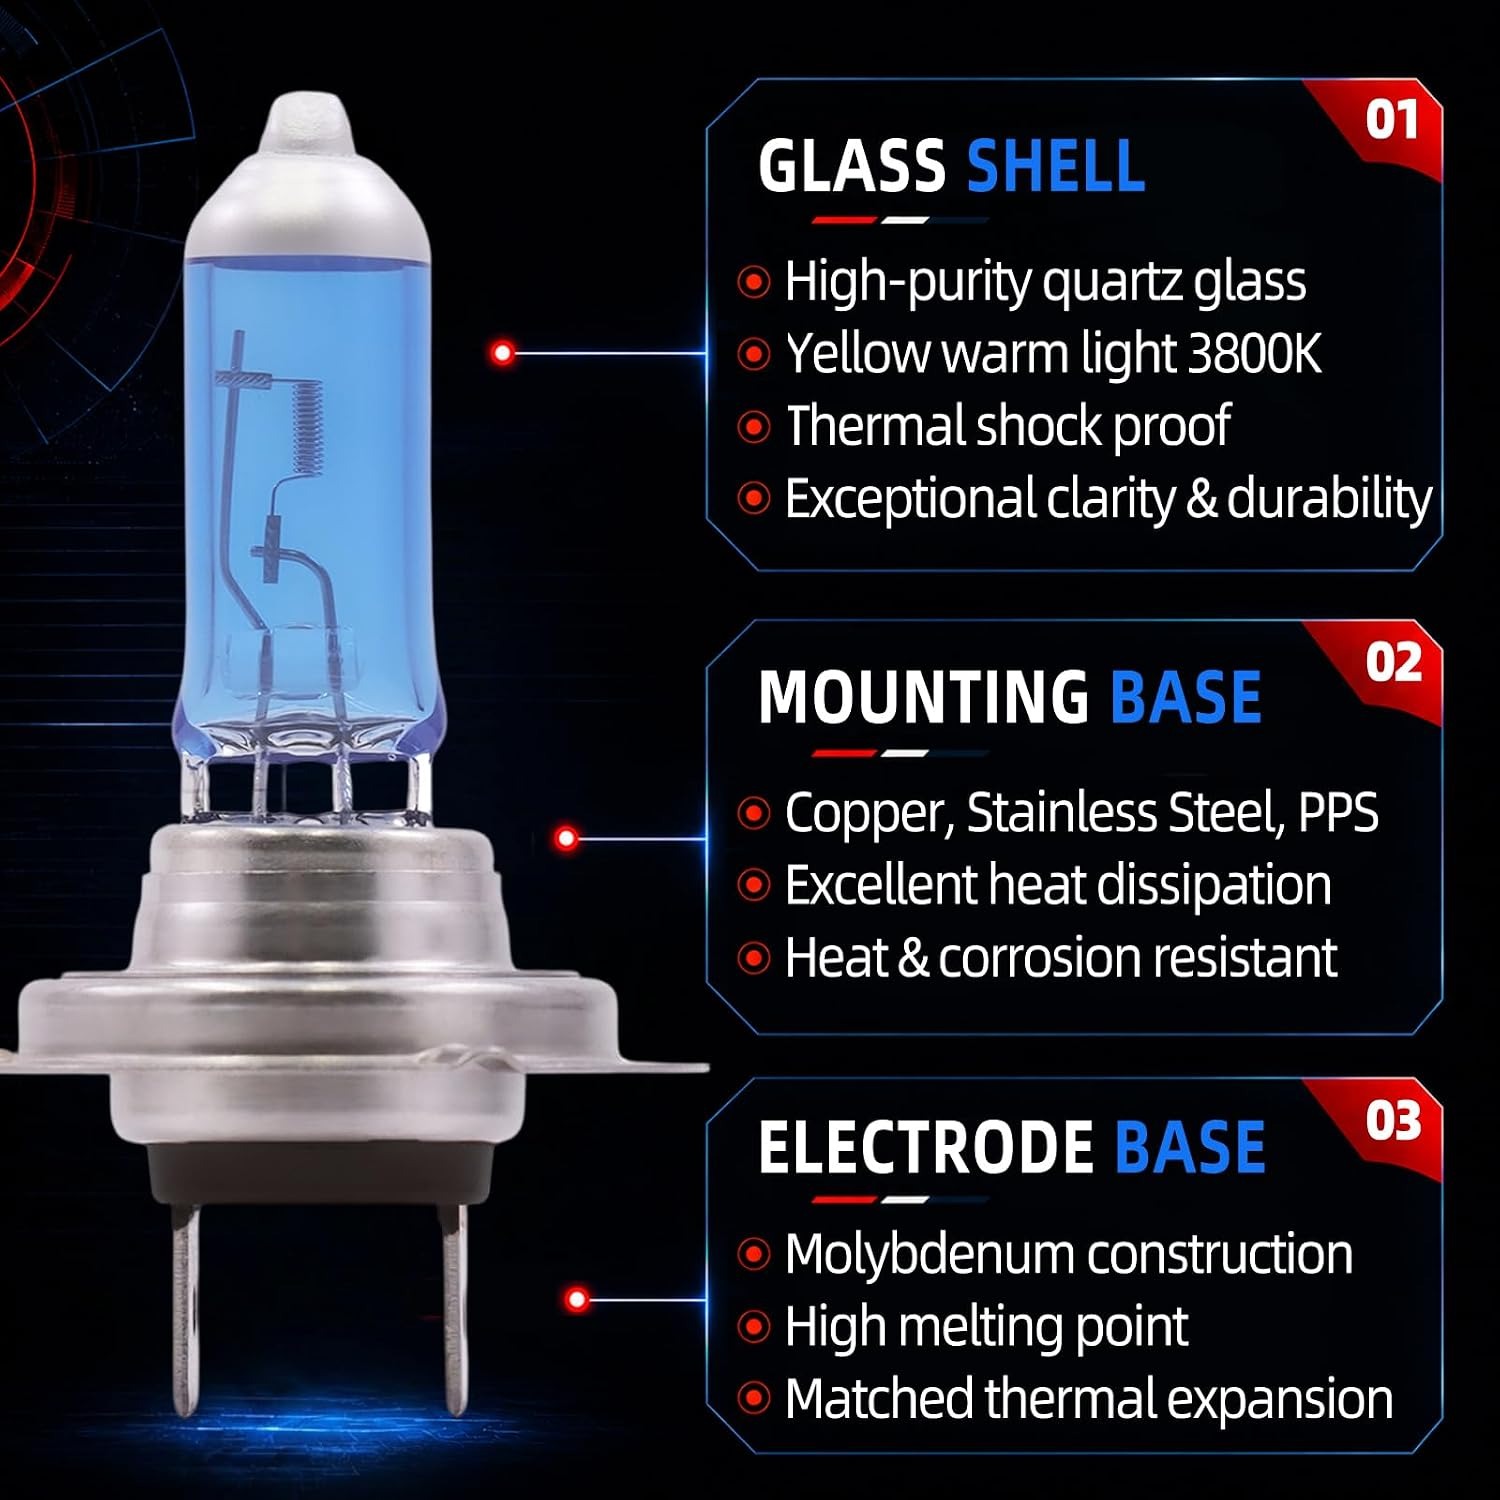
The base code for H7 is PX26d. It is a flat plastic collar with two small tabs that only line up with the socket one way around. That is deliberate. Headlight reflectors are shaped to throw light from a filament sitting in a very specific position, and if the globe could rotate or sit a few millimetres out, the beam pattern would scatter instead of forming a clean cut-off.
An H7 has one filament. That matters, because single-filament globes handle one job each. A car that uses H7 for both low and high beam will have two separate globes per headlight, or a projector with a shutter that moves. Either way, you are replacing one function at a time.
These globes are rated 12 volts and 55 watts, which is the standard rating for H7 in passenger cars. The listed colour temperature is about 3800 Kelvin, a warm white. You get two globes in the pack.
How to confirm your car takes an H7
Do this before you order. It takes two minutes and saves a return.
The first place to look is the owner manual. Nearly every manual has a table of globe types somewhere near the back, covering headlights, indicators, brake lights and interior lamps. Find the row for the lamp you want to change.
If the manual is missing, go to the globe itself. Open the bonnet, find the back of the headlight housing, unclip the dust cover and pull the globe out. The type code is stamped or printed on the metal base, usually in small raised characters. If it says H7, you are in the right place. If it says H1, H4, H11, HB3, HB4 or anything else, these globes will not fit and no adapter will make that a good idea.
One thing worth knowing: H7 does not always live in the low beam. Depending on how the car was designed, an H7 can be the low beam, the high beam, or the front fog light. Some vehicles use it in two of those positions. So rather than asking "does my car use H7", ask "does the lamp I want to change use H7". The answer is written on the old globe.
We list fitment by globe type only. We do not claim this product fits any named vehicle, and we will not tell you it fits everything, because that is not how headlight globes work.
What the specs mean in practice
55 watts. This is the normal draw for an H7. Staying at the standard wattage means the existing wiring, connector and fuse are all doing what they were designed to do. A globe that pulls more current than the system expects puts heat into connectors that were not built for it.
12 volts. Passenger cars run 12 volt systems. Trucks and some heavy vehicles run 24 volts and need globes rated accordingly. If your vehicle is 24 volt, this is not the right product.
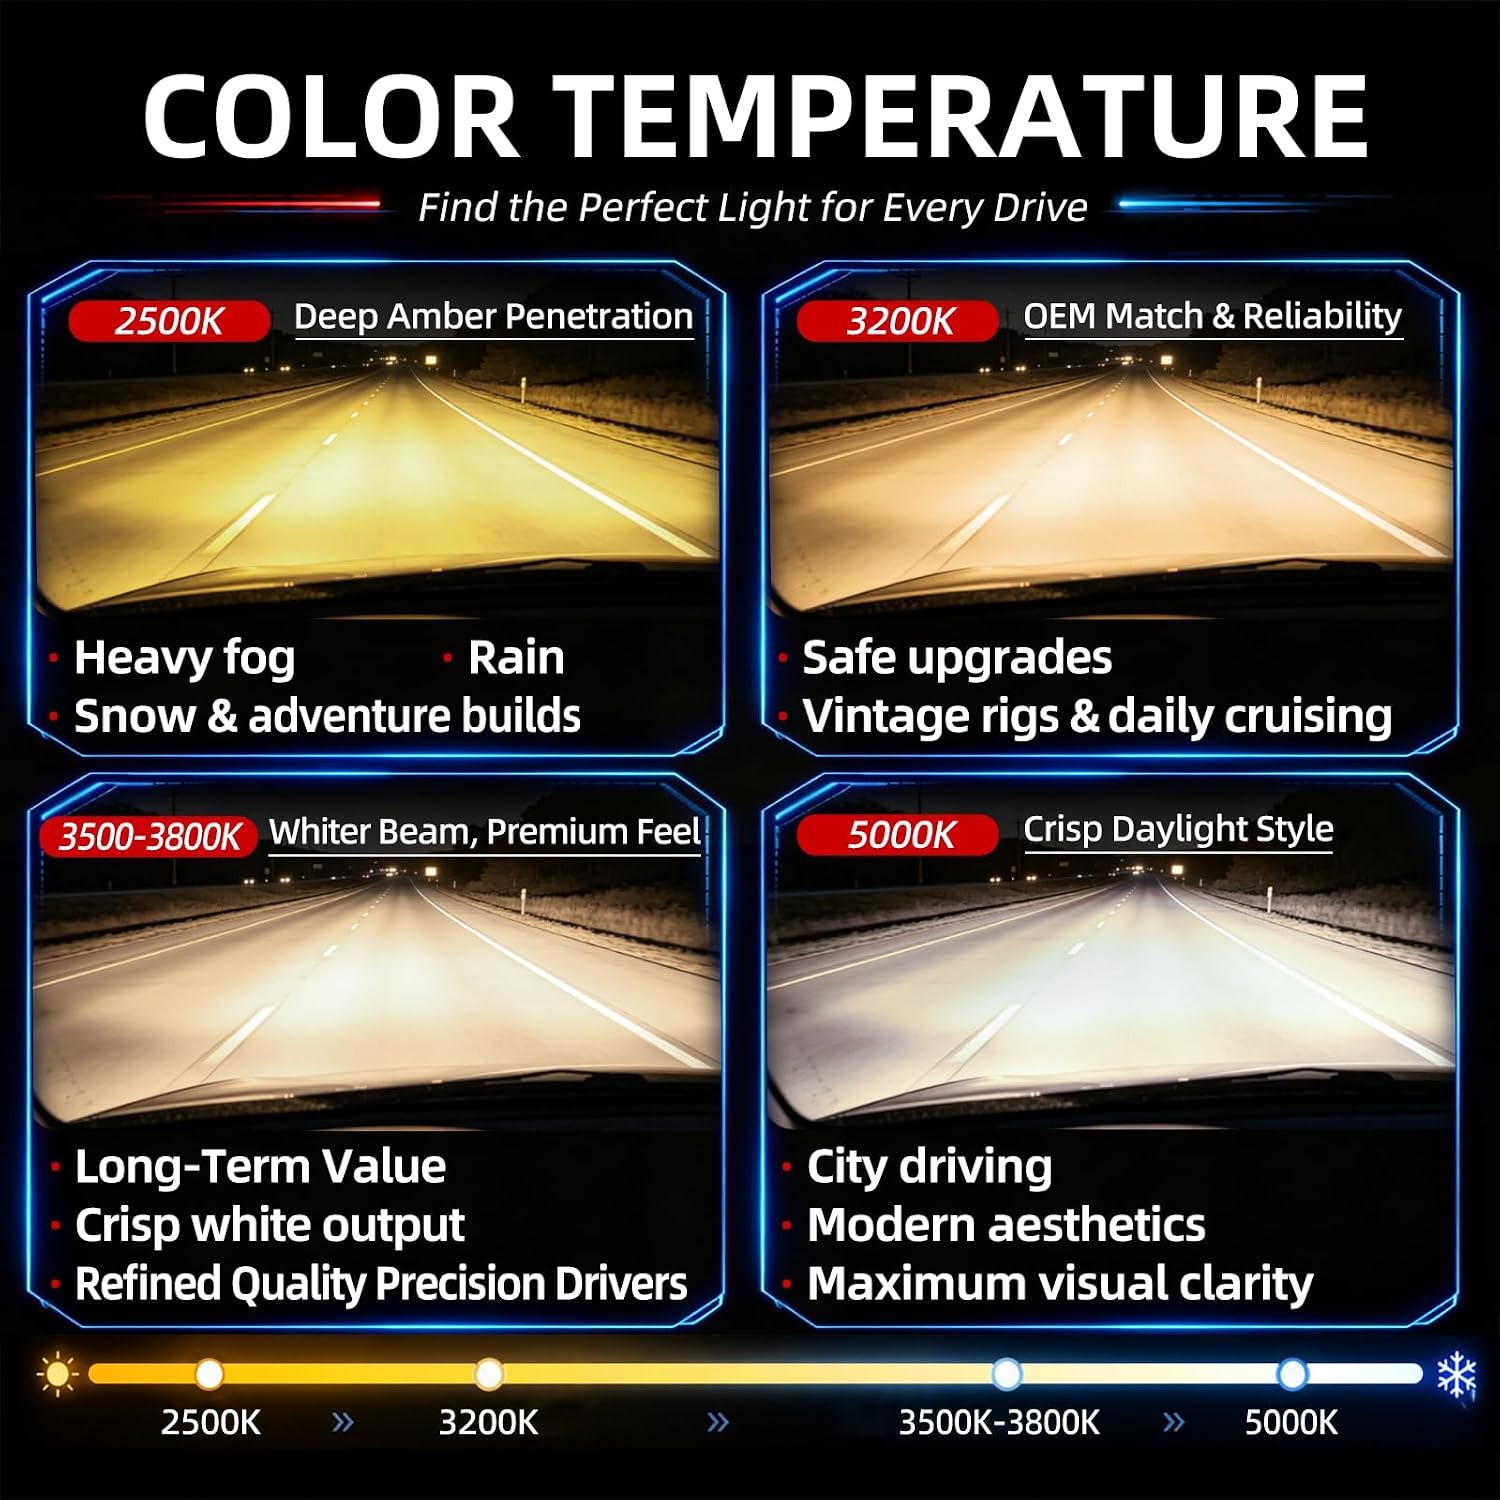
About 3800 Kelvin. Kelvin describes the colour of the light, not how much of it there is. Lower numbers look warmer and more yellow, higher numbers look cooler and bluer. At roughly 3800K you get a warm white, the familiar halogen look. Some drivers specifically want this, finding cool white harsh in rain and fog. If you were hoping for a blue-white appearance, be aware that is not what these produce.
Two globes. Headlights work in pairs, and so should replacement globes. More on that in a moment.
Why you should change both sides
Say the passenger side globe blows and you replace just that one. The driver's side globe has been running the same number of hours in the same conditions, so it is almost certainly dimmed and slightly yellowed by comparison. You end up with a noticeably uneven pair of headlights, and in a few months the second one fails anyway and you repeat the job.
Changing both at once keeps the beams matched and saves you opening the bonnet twice. It is also why most people looking for the best matched pair of headlight globes buy them two at a time rather than singly.
Fitting them without ruining them
Most of this is simple, but two details genuinely matter.
Let everything cool. Halogen globes run hot. So does the housing around them, and the metal clip holding the globe in place. If you have just driven home, give it twenty minutes.
Do not touch the glass. This is the one that catches people out. Oil from your skin stays on the quartz glass, and when the globe heats up that spot expands at a different rate to the clean glass around it. It stresses the envelope and can cut the globe's working life short for no reason at all. Hold the plastic collar or the metal base. Clean cotton gloves are ideal. If you do touch the glass by accident, wipe it with a lint-free cloth and a little methylated spirits, then let it dry before fitting.
The rest is straightforward. Unclip the dust cover at the back of the headlight. Unplug the connector from the old globe, release the wire clip or twist the retaining collar, and pull the globe straight out. Put the new one in the same way, lining up the tabs so it seats flat. Clip it, plug it in, refit the dust cover properly so water stays out, then turn the lights on and check both sides before you close the bonnet.
Some cars make this easy. Others put the headlight behind the airbox, the battery or a wheel liner, and you will be removing a few clips first. Have a look at the access before you start so there are no surprises.
Care and spares
Keep the packaging if you are buying a pair to hold as spares. Globes are glass and the base is a precision fit, so loose in a glovebox with a tyre gauge and a few coins is not kind to them. A lot of drivers keep spare headlight globes in the car as a matter of course, which is a fair habit, particularly if you drive at night outside town.
If a new globe does not light, check the connector is fully pushed on and the globe is locked into position before you assume it is faulty. A fuse or a tired connector is often the real culprit.
What we are not claiming
Worth being direct here. We are not going to invent those numbers. What we can confirm is on the spec list: H7 PX26d fitting, 12 volts, 55 watts, roughly 3800K, two globes, 40 g listed item weight.
If your situation requires a globe with a particular approval marking, check what is printed on your current globe and ask us before ordering. We would rather answer the question than process a return.
The short version
If the lamp you want to change takes an H7, this pack of two 12 volt 55 watt globes drops straight into the original socket, no tools needed on most cars. The light is a warm white at about 3800K, the normal halogen look rather than a blue tint. Confirm the fitting in your owner manual or by reading the code on the old globe, change both sides so the beams match, and keep your fingers off the glass while you fit them. That is really all there is to it.